Closet Makeover: Creating a Tiny Garage Out of A Closet
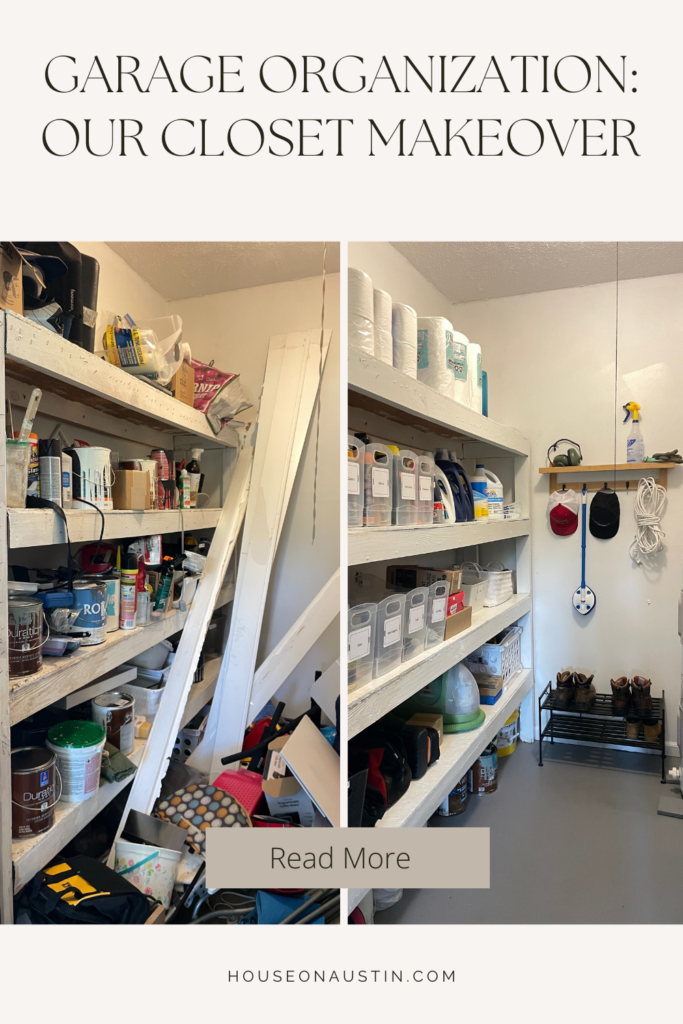
We completed a closet makeover and turned it into a tiny garage!
For those asking, we bought our clear plastic bins at Walmart (I think they were around $5 each.) I also found a similar bin at Amazon that comes in a pack 6-pack- I’ve used them in our laundry closet and love them! You can find the link here: Narrow Shelf Bin With Handles.
Garage Closet Makeover
When we converted our garage into living space shortly after moving into our fixer-upper, we moved all garage related items into our detached shop and kept a few things in the garage-turned-family room closet.
*This post contains affiliate links. When you buy something from our links, we may get an affiliate commission — but it never affects your price or what we recommend. Read our affiliate disclosure here.
The closet was left untouched during the garage renovation, and the floor, shelves and walls were old, dirty and frankly- gross.
We made it even worse by keeping it really disorganized- stuff got thrown into the closet and I just tried to keep the door shut so I couldn’t see it.
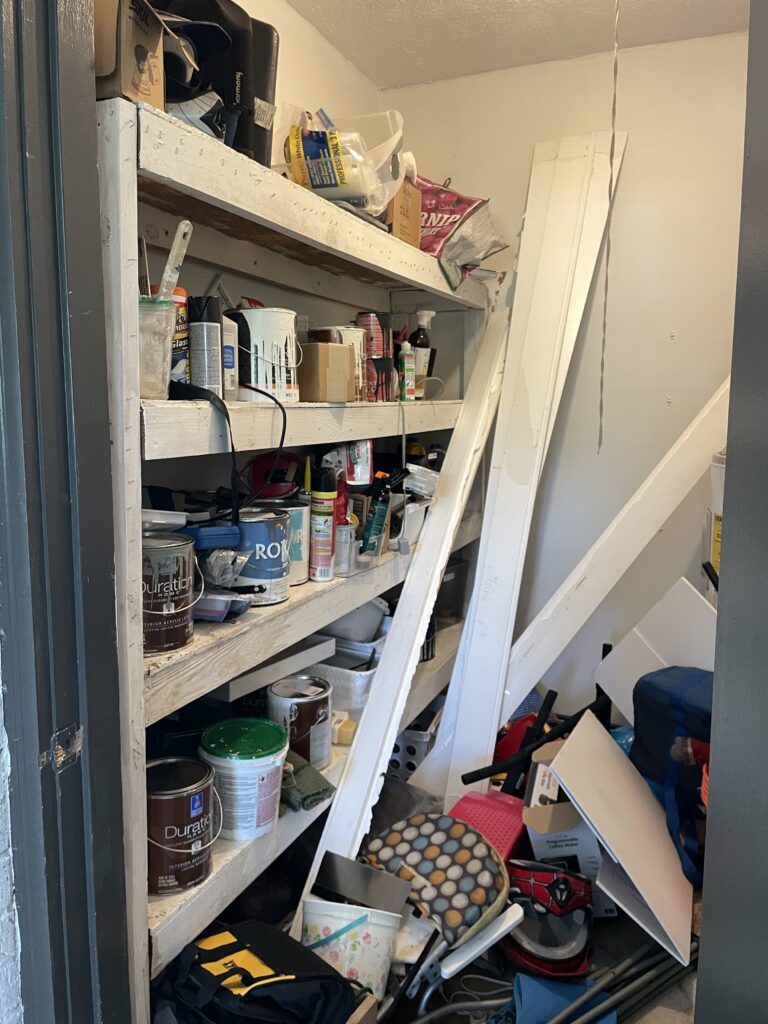
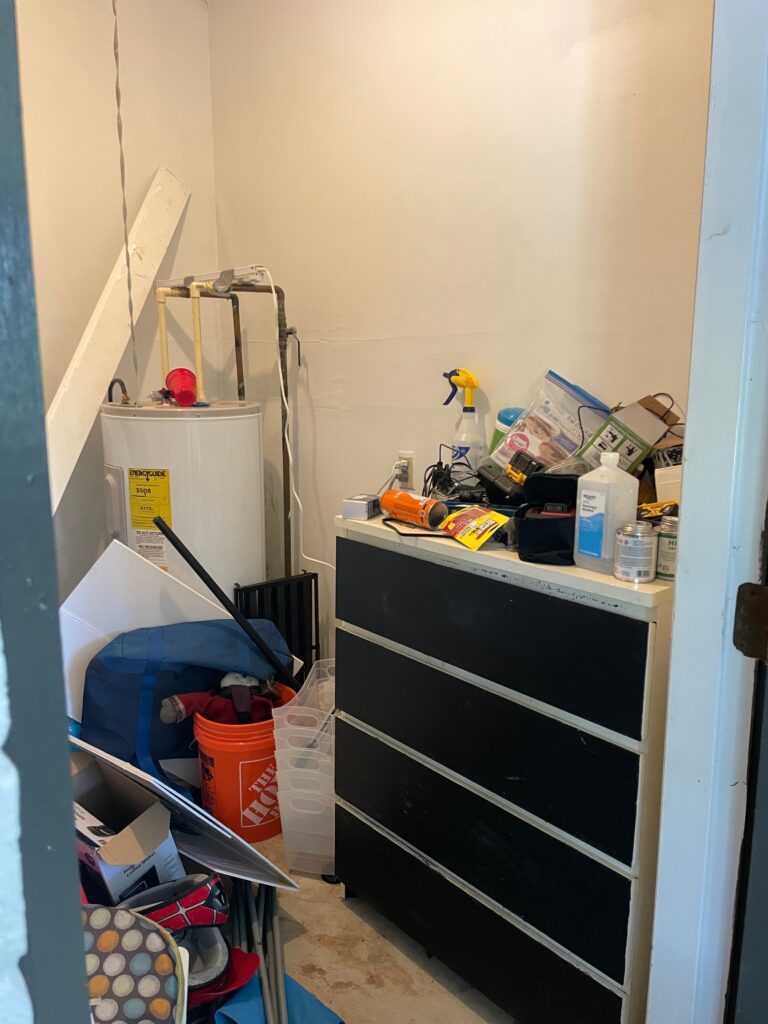
But I knew it was there, lurking in the back of my mind.
We have so many projects going on inside our house and shlepping to the shop or rummaging through the darkly lit closet was less than fun so, we decided to give it a closet makeover and turn it into a functional, organized tiny garage!
Step One: Paint The Shelves and Walls
The first thing we did was remove everything we could from the closet. This left the large shelving unit and the water heater.
We painted the shelves when we first moved in, but they needed to be cleaned and repainted.
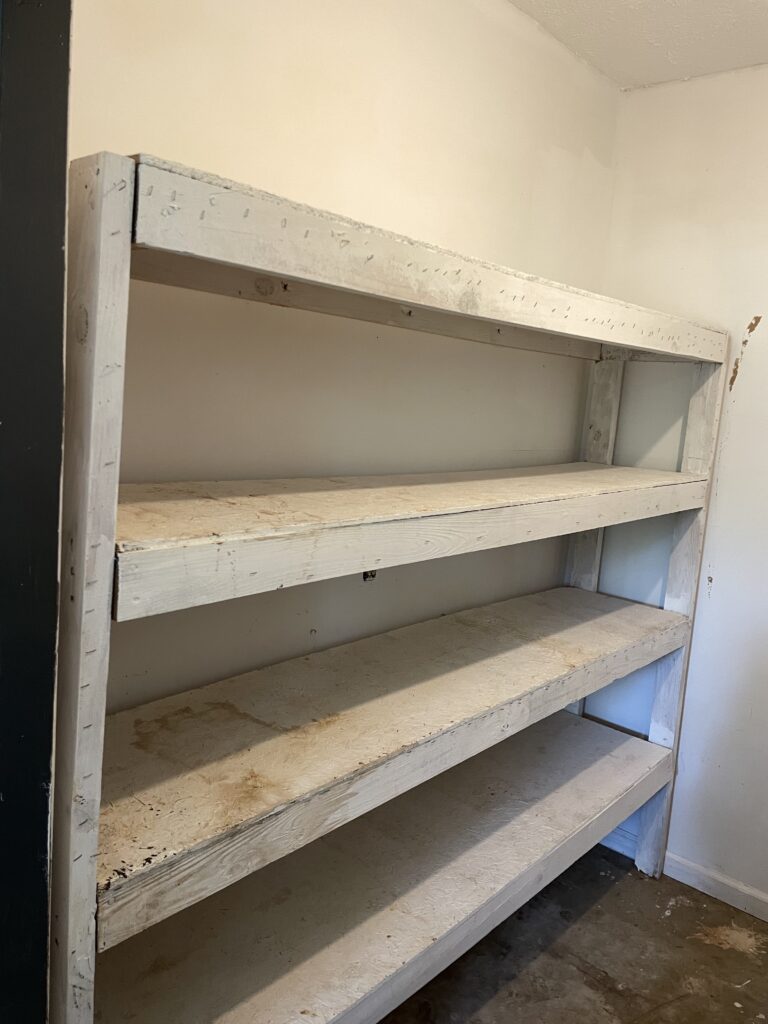
I used leftover paint from a previous project and gave the whole unit, and the walls, a touchup.
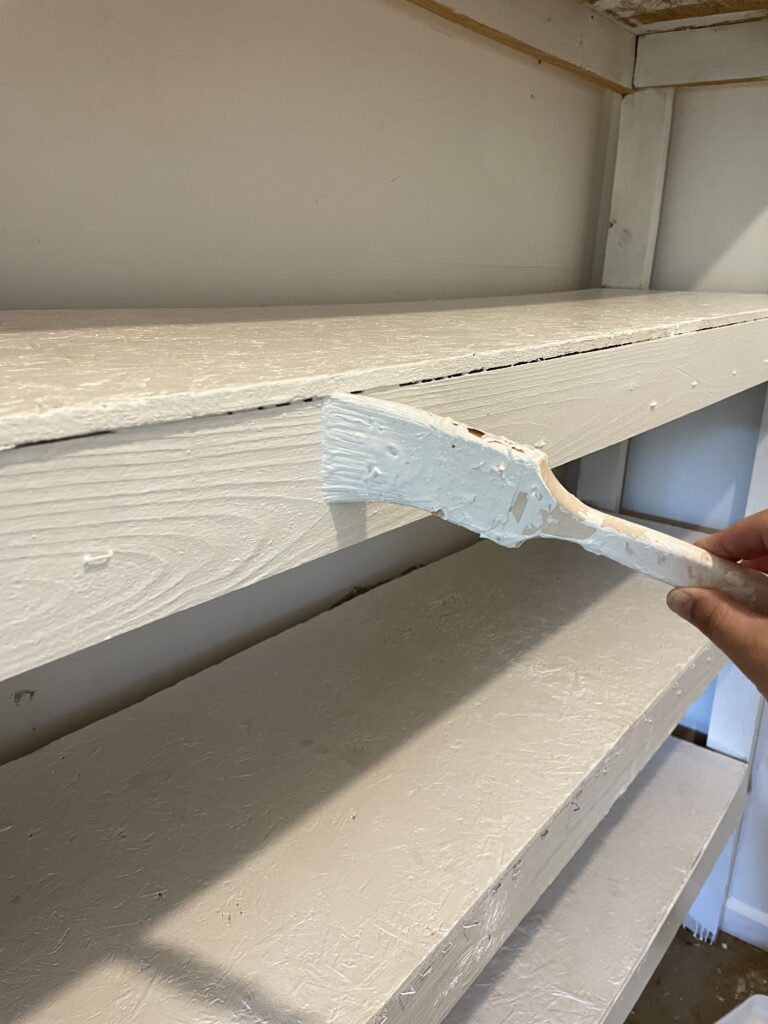
This was a big improvement already, and brightened up the space.
Step Two: Clean and Paint The Floor
The concrete floor was badly stained. I thought about putting down tile or using the same flooring as the family room, but the supplies weren’t in the budget and also I needed something I could accomplish completely on my own.
So, I painted the floor. I painted our concrete back patio, so I knew it would be fairly straightforward and durable. You can read all about how to paint concrete here.
We started with this:
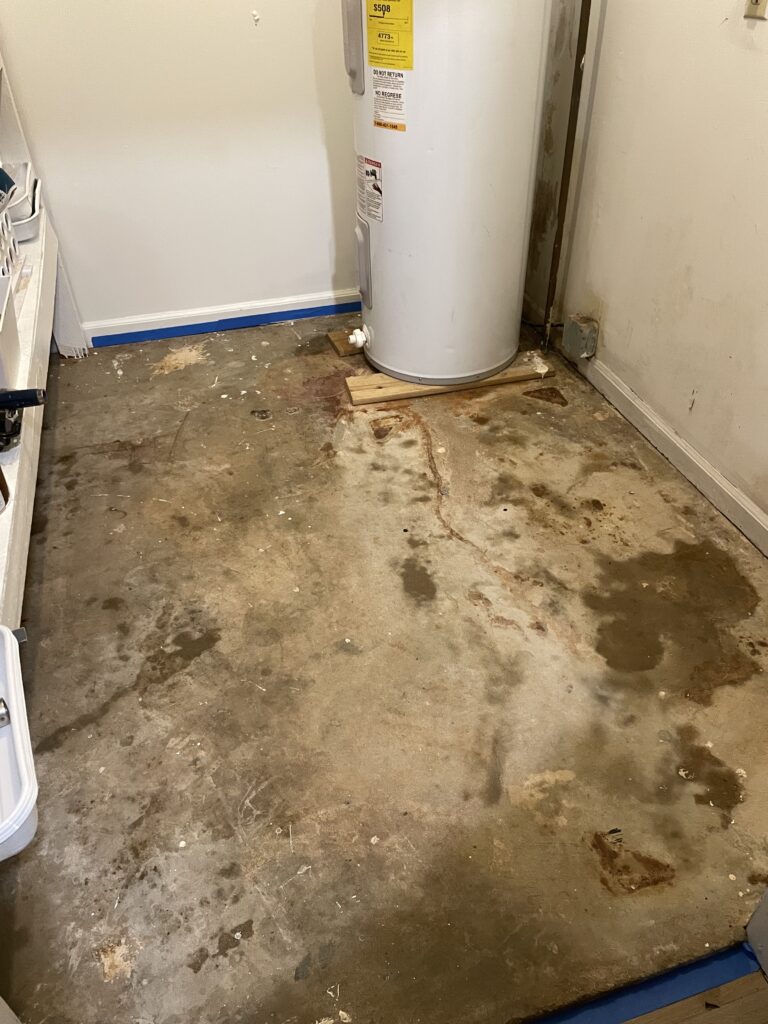
And finished with this:

Now THAT is a huge difference!
Step Three: New Electrical Outlet and Lighting
Once the floor was dry, Daniel made some improvements to the lighting and outlet in the closet. He took out the old electrical outlet unit, and installed a new one with USB ports.
We have a large number of head lamps (that we inherited from our grandparents- just kidding. The Office, anyone….?) that need to be plugged in, so it just made sense!

Daniel also replaced the old lighting, which was essentially just a bare lightbulb with a long cord to turn it on and off.
We bought an inexpensive flush mount light with a pull chain from Amazon.
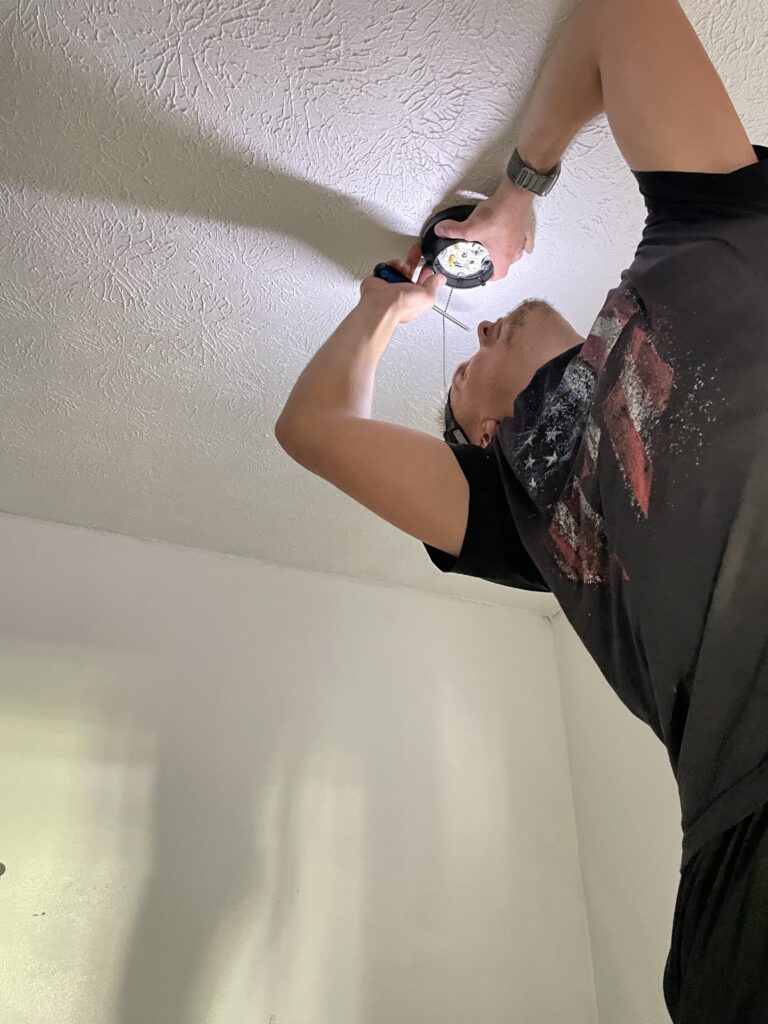
We also bought a chain extension and attached it to the existing chain, so that our kids can easily reach it.

Step Four: Create a Tool Organization and Battery Charging Station
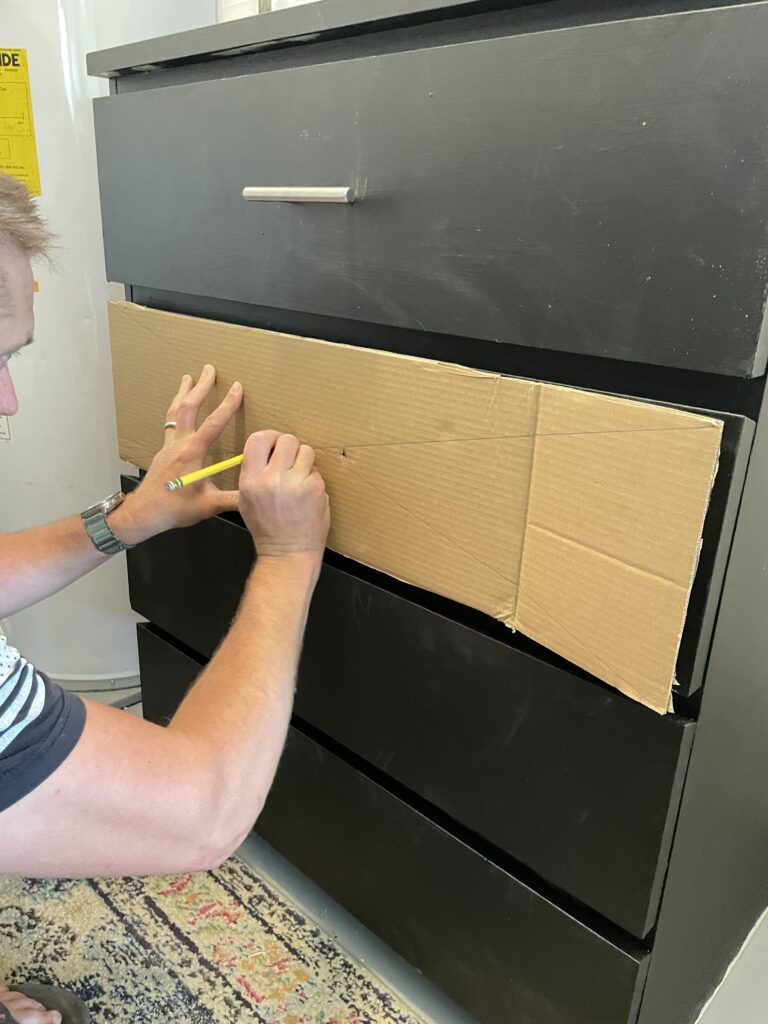
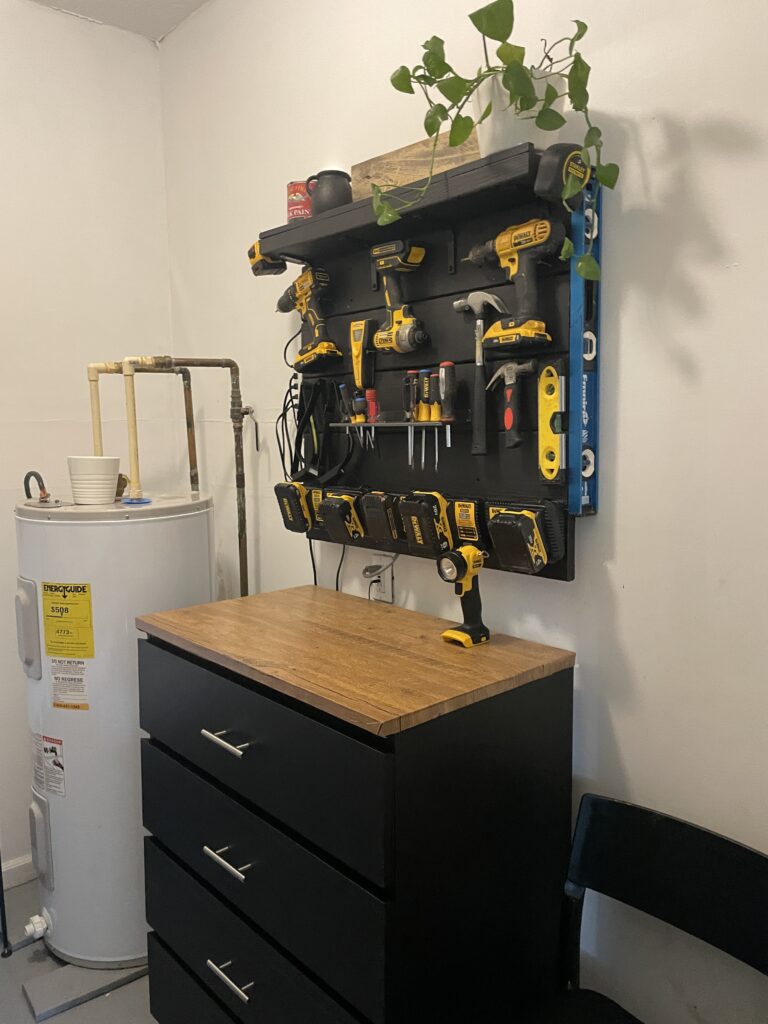
Next, I repainted the old dresser we had in the closet with paint we already had, and Daniel added silver drawer pulls we bought from Home Depot.
This dresser works great for storing smaller items like screws and random garage items.
We then built a wall tool organizer out of pallet boards. Daniel came up with this idea on his own, and its awesome.
It cost very little money and we used up boards we had laying around in our shop. You can read all about how we created it in this post.
Step Four: Organization
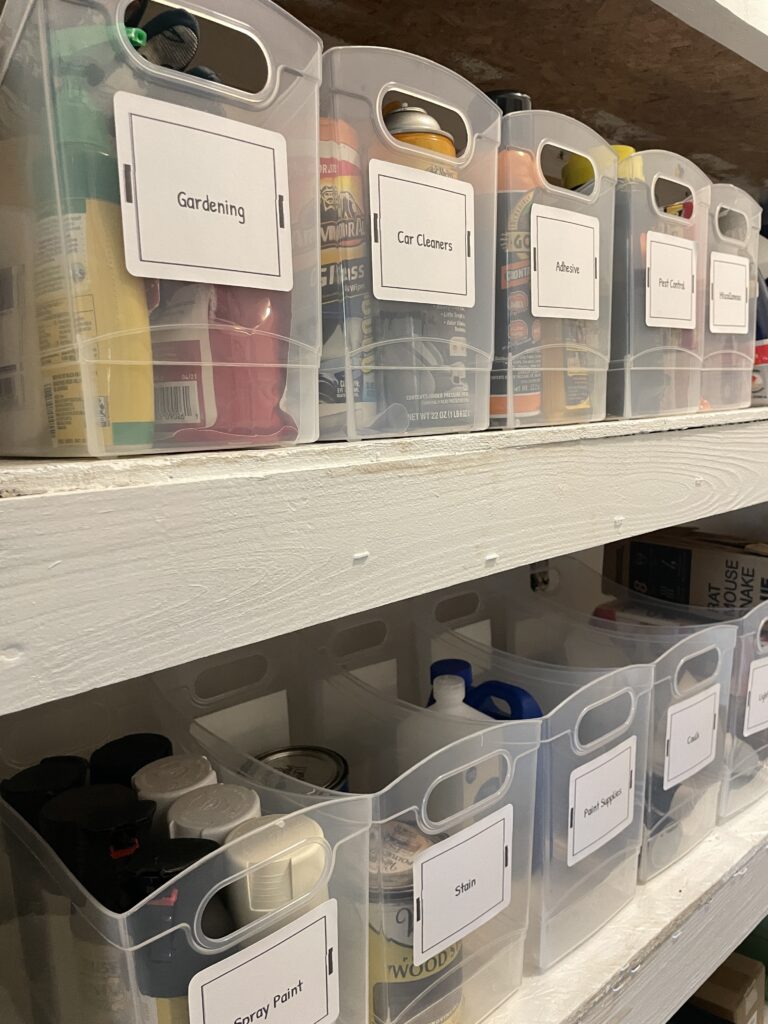
The last step to our closet makeover was organizing all the stuff. I bought these clear containers from Walmart (similar bins from Amazon here) along with these labels to organize all the tools, paint supplies, etc.
I like using clear containers for items we use often, as it makes it easier to find what you need more quickly. I also didn’t want anything with a lid.
I also hung up a small coat rack (also from Amazon) with a shelf for hats, extra cords and other miscellaneous items. Our work boots went on a shoe shelf I already had, and- that was it!
Closet makeover completed. Now instead of a giant mess of a dark, disorganized closet, we have a tiny garage with all the items we use often, all organized and much more pleasant to look at.

What do you think of this closet makeover? Let us know in the comments!
