How To Install An Above Ground Pool: DIY
Step-by-step guide with pictures for how to install an above ground pool.
Installing an above ground pool in your backyard is a rewarding project that can provide endless hours of fun and relaxation for you and your family!
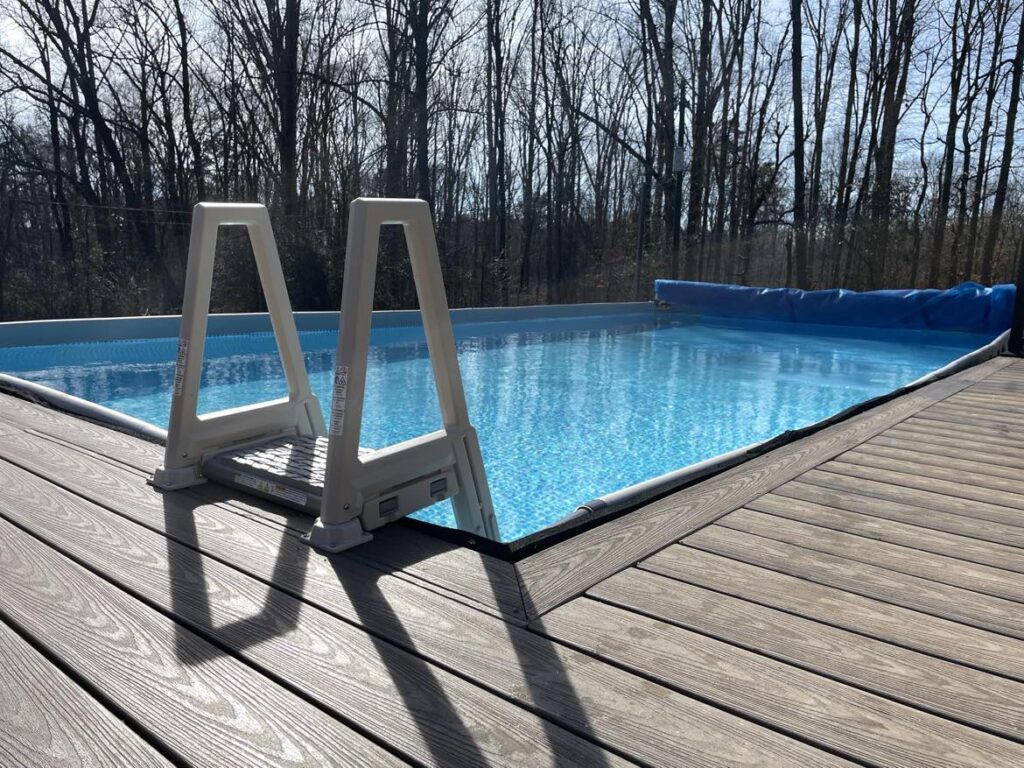
In this blog post, we will guide you through the process of setting up an above ground pool, drawing from our personal experience of installing four above ground pools, including our current Intex rectangular pool (measuring 32′ x 16′ and 52″ inches” deep.)
From leveling the ground to adding water and chemicals, we will cover each step to ensure a successful installation.

For more on our backyard projects, and before and after pictures, click here!
*When you buy something from our links, we may get an affiliate commission — but it never affects your price or what we recommend.
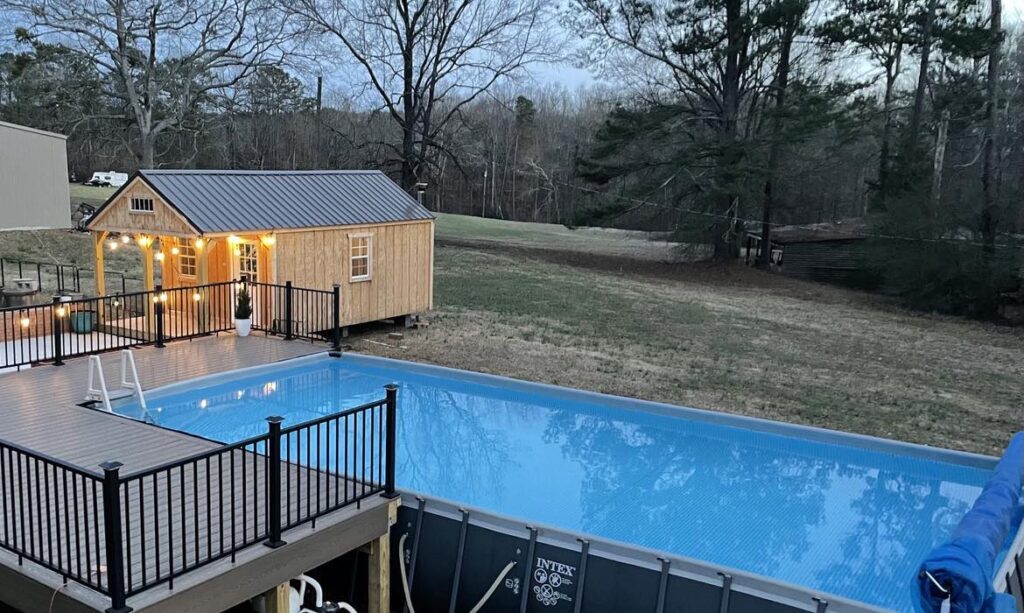
We put up an enormous above ground pool last spring, and we enjoyed it all summer long. In fact, we use it in the winter for an ice plunge after a sauna! If you’re looking to add an above ground pool to your backyard this year, read on.
How to install an above ground pool, step by step
Step 1: Level the Ground

Before you begin the installation process, it is crucial to ensure that the ground is level. Start by renting an excavator, if necessary, to remove any uneven or sloping areas.
To achieve precision, use a laser level to ensure the ground is perfectly level across the entire pool area. We were able to rent a laser level from the same company as the excavator.
Step 2: Compact the Ground
After leveling the ground, compact the entire area. We suggest renting a plate compactor for this step. After you’ve run the plate compactor, use the level again to ensure certain areas haven’t settled more than others.
You may need to add a bit of dirt here and there, and re-compact. This helps prevent settling once your pool is set up and filled with water.
Step 3: Prepare the Ground

Once the ground is leveled, it’s time to prepare the area for the pool. Begin by spreading a layer of sand evenly over the entire pool site.
Make sure the sand fills in all the low points and divets. You don’t want the sand to be any higher than one inch above the highest point. If the sand gets too deep in some areas, it makes the ground too squishy.
Use a rake or shovel to level the sand, ensuring a smooth and even surface. We also used a 16 ft straight 2×4 with a 6 ft level, and pulled it over the sand to fill in the low points.
This step is crucial in creating a stable and comfortable base for your pool.As long as it’s not hard rock, its not super crucial that every single square inch is covered with sand.
Step 4: Add a Ground Cover

To protect the pool liner and prevent any unwanted debris from puncturing it, it is essential to lay down a ground cover. This can be a durable tarp or specialized pool ground cloth. Most above ground pools are going to come with their own ground cover.
Spread the ground cover evenly over the sand, extending it slightly beyond the pool’s perimeter. Trim off any excess material.
We added an additional 7 mil black plastic (from Home Depot) on top of the ground cover to provide extra protection for anything that might push up through the bottom of the pool as it settles. When you walk in the sand, it causes indentions, so try to avoid walking on the ground cover as much as possible.
Step 5: Assembling the Pool
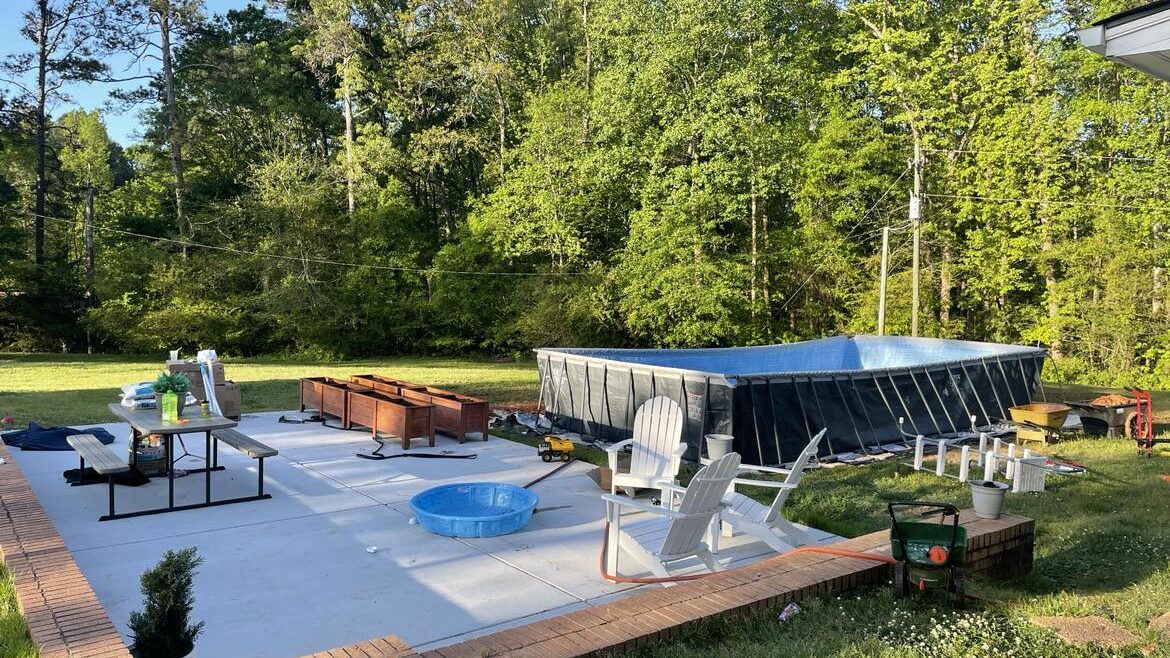
Now comes the exciting part – assembling the pool itself. Follow the manufacturer’s instructions to construct the frame, connect the walls, and attach the liner. Pay close attention to any specific guidelines provided by the pool manufacturer.
As you assemble the pool, ensure that all components are securely fastened and aligned correctly.
Step 6: Adding Support for the Legs

For added stability, it is essential to provide support for the pool’s legs. Dig holes around the perimeter of the pool where the legs will rest. Make sure the soil underneath each concrete support is compacted and level. Insert heavy-duty concrete paver stones or per pool manufacturer recommendations, ensuring they are firmly anchored in the ground. Place the pool legs on top of the supports, distributing the weight evenly.
Do not skimp with light duty stones or they might crack– we ran into this issue and had to replace with larger, thicker paver stones. This was after the pool had already been filled so we had to drain it and start over!
Step 7: Smooth the Pool Area

This step goes with number 8, but needs to be mentioned separately because its really important. While the water is filling and less than 3 inches, go inside the pool and smooth out any wrinkles or bumps by sliding and pushing out on the side of the pool.
Our kids helped out with this by sliding back and forth across the bottom of the pool. You can also pull on the pool edges from outside.
Step 8: Fill with Water
Now that everything is in place, it’s time to fill your pool with water. Use a garden hose or a pool-filling service to gradually fill the pool, monitoring the water level as you go.
Be cautious not to overfill the pool, as this can cause strain on the walls and liner.

Step 8: Adding Chemicals
To maintain the water quality and ensure a safe swimming environment, it is crucial to add the appropriate chemicals to your pool. Follow the instructions provided by the pool chemical manufacturer to determine the correct amount of chemicals needed.
This step will help maintain the pH balance and prevent the growth of algae and bacteria.
If you’re using a salt water pool, such as ours, the PPM should be 3200ppm. Its best to purchase a Pool Salt Tester to measure this. Depending on the size of your pool, this may require 10 or more 40 pound bags of salt.
Now, Go Enjoy your above ground pool!

Installing your own above ground pool can be a challenging yet rewarding project for homeowners. If you know how to install an above ground pool on your own, you can save a lot of money! By following these step-by-step instructions, you can confidently set up your pool and enjoy countless hours of summer fun.
Pool Updates
We also added an above ground pool deck, which you can read about here. You can also see our cost breakdown here.
Pin It!


