Basement Bathroom Makeover + New Tongue and Groove Wood Ceiling
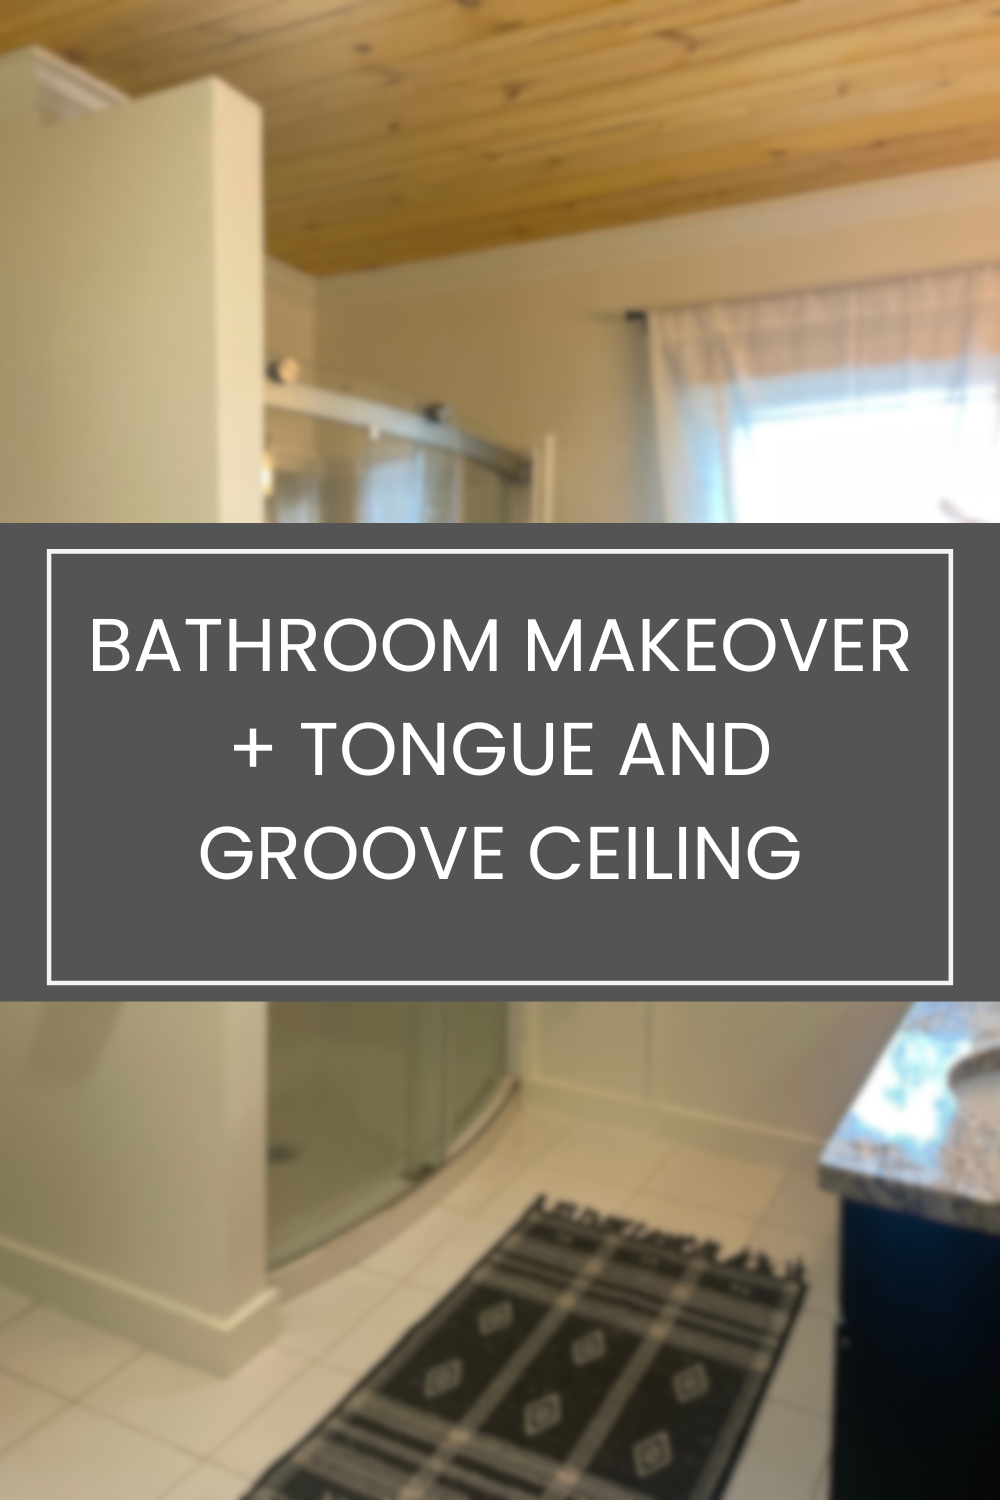
Today we’re sharing all about our basement bathroom makeover which included a new tongue and groove wood ceiling.
*This post contains affiliate links. When you buy something from our links, we may get an affiliate commission — but it never affects your price or what we recommend. Read our affiliate disclosure here.
You can read all about our basement makeover here.
We had a sort of Chicken Little situation in our basement bathroom, except instead of the sky falling, it was the ceiling.
The previous owner of our fixer upper installed a drop ceiling in our basement bathroom, similar to something you’d find in an office building.
It wasn’t great to begin with, but then we had a plumbing leak (just one of many issues we’ve had in this old house!) and that destroyed a section of the ceiling.
There was nothing else to be done, but to completely remove the drop ceiling and replace it with a new one.


Not only was the ceiling falling apart, but the bathroom had two different shades of drab gray on the walls, haphazard and unpainted trim, and a beat-up vanity; overall, it was an unattractive mess.

I know, I’m not sure how we lived with it like this for so long, either.
We finally tackled this home renovation this fall, and I’m so pleased with how it turned out! Read on for all the details and the end result.
Installing Tongue And Groove Wood Ceiling
Last fall, Daniel installed tongue and groove cedar planks in our sauna (you can read about our sauna cabin here) and I loved the look.
So, we decided to do something similar in our basement bathroom makeover, except with pine to save money.
We ain’t got that Cedar Plank Money for a basement bathroom makeover at the moment.
Step 1: Removing the Old Drop Ceiling
The first step to installing our tongue and groove wood ceiling was clearing out the old drop ceiling, which was falling apart anyway.

Taking the ceiling down exposed a mess of nails, holes, and random bits of hardware left behind over the years.
Daniel removed all the old nails, hardware, and old trim.
Step 2: Rewiring the Vanity Light
Since we had everything open, it was the perfect opportunity to rewire the vanity light. The old wiring was hanging down below the 2x4s that the tongue and groove needed to nail into.

With the drop ceiling out of the way, we could easily access and reconfigure the wiring for a better fit with our new ceiling height and layout.
Daniel re-wired it to above the 2x4s and behind the wall, and then drywalled over the holes made by the previous owner.
There were lots of drywall repairs in this project!
Step 3: Adding Insulation Above the Ceiling
To keep the basement bathroom comfortable, we added a roll insulation from Home Depot above the ceiling.
Not only does it help with soundproofing, but it also makes the space warmer in winter, especially nice for a basement bathroom.
Step 4: Installing a New White Ceiling Fan and Light Combo
With the ceiling prepped, we installed a new white ceiling fan and light combo, designed to withstand bathroom moisture.
The old fan/light was really yellowed and dirty. We bought this one from Amazon, and it fit perfectly in the space.
Daniel installed it into the ceiling 2x4s, and raised the bathroom vent up to the 2x4s as well. Previously, they were suspended about 6 inches lower to fit into the old drop ceiling.
The new fixture brightened up the room and will help with ventilation to keep moisture levels in check.
Step 5: Pre-Staining the Wood Planks
To ensure the wood was ready for a humid bathroom environment, we pre-stained the tongue and groove planks.
We chose a waterproof stain from Valspar to protect the wood from steam and water exposure.

Staining before installation also meant that each plank was uniformly treated and protected, which made for an easier final install.

Step 6: Installing the Wood Plank Ceiling
Once all the prep work was done, we were ready to install the planks.
Starting from one side of the ceiling, we placed each plank, fitting the tongue of one into the groove of the next.
We nailed each plank to the existing 2x4s, making sure each piece was snug and secure before moving on.

As we worked around the ceiling fan and light, we trimmed the planks to fit. Having the fan and light already installed made this part easier since we knew exactly where each cut needed to be.
However, we left space for a access hatch to the ceiling above- more about that later.

Step 7: Drywall Repair
Removing the drop ceiling left tons of exposed gaps, holes and fissures in the drywall where it met the ceiling.
The previous ceiling was about 6 inches lower than the new one, so the holes, etc. were very visible.
It actually looked like someone had, inexplicably, taken a hammer to the drywall (you can see in the above picture.)

We patched these areas with Sheetrock joint compound and then sanded it with 220 grit to give it a smooth finish.
Painting The Walls And Trim
I painted the walls with Benjamin Moore White Dove in satin, and painted the trim with the same color but in semi-gloss.

In the above before picture, you can see that at one point I started painting, and then abandoned the project when I decided I didn’t like the color. The weird two-tone wasn’t adding to the appeal of the bathroom.


Adding Crown Molding
We added new crown molding to the bathroom ceiling. Daniel had never worked with crown molding before, but he figured out how to cut measure and cut the trim- not an easy process!
We bought traditional crown molding from Home Depot.
We painted the crown molding with Benjamin Moore White Dove in a semi-gloss sheen before installation.
Using a miter saw, Daniel cut the corners at a 45-degree angle. For the corners, he coped the edges for a seamless fit.
It was actually a lot more complicated than that, but this is not an instructional post on that. My brain hurts just thinking about how to explain it, and there are plenty of helpful tutorials on the internet already.

Daniel used a nail gun with finishing nails to secure the molding to the wall.
Tip: To properly secure the molding to the ceiling, use 2.5 inch finishing nails.
He then caulked the seams and nail holes, and then I added another coat of the White Dove paint.

Installing The Access Hatch
While this might seem odd, we needed to install an access hatch to the space above the basement bathroom ceiling.
You’d be surprised how many times Daniel has had to climb into this space to make repairs to leaking plumbing pipes, pull electrical wiring through to the other side of the house (most recently when he installed a mini-split in the basement) and even add supports for the kids’ downstairs swing.
Daniel attached wood trim to three sides of the wood planks (the fourth side was against the crown molding), leaving a space big enough for him to get through.

He then created a removable section with planks and two slats, matching the planks with the rest of the ceiling.

This section sits on top of the trim pieces and the crown molding, making it easy to push up and over to gain access to the space above.

Painting the Vanity
While it would have been nice to replace the vanity, that wasn’t in our budget.

Instead, I gave the vanity a fresh coat of SW All Surface Enamel paint in Black Satin.

That was enough to give the vanity an updated look, and I’m happy with the results for now
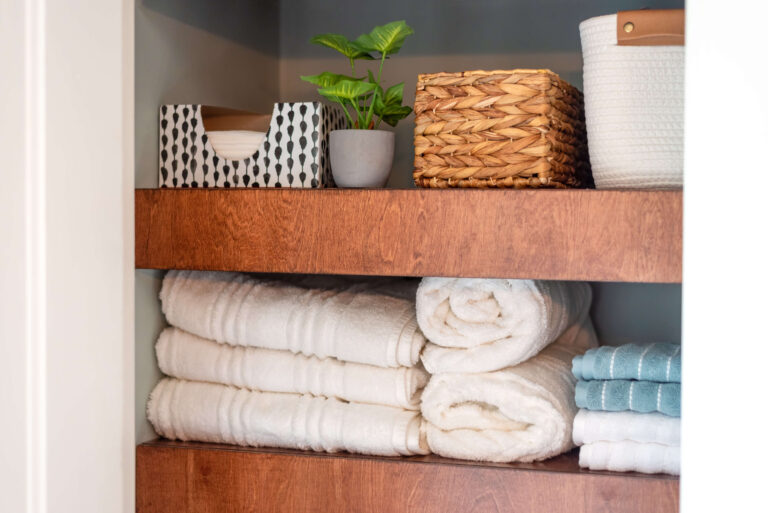
Adding the Accessories
Finally, I hung some new towel hooks by the shower, a curtain for the window, and a couple useful shelves above the toilet.


The Final Result Of Our Basement Bathroom Makeover
The transformation is exactly what we’d envisioned!


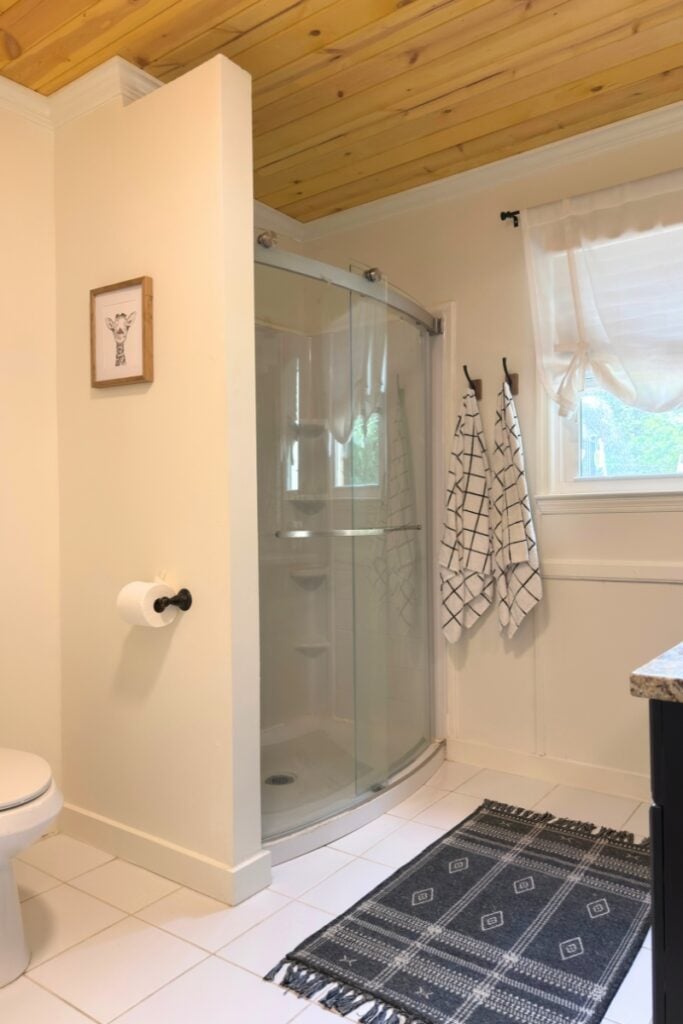

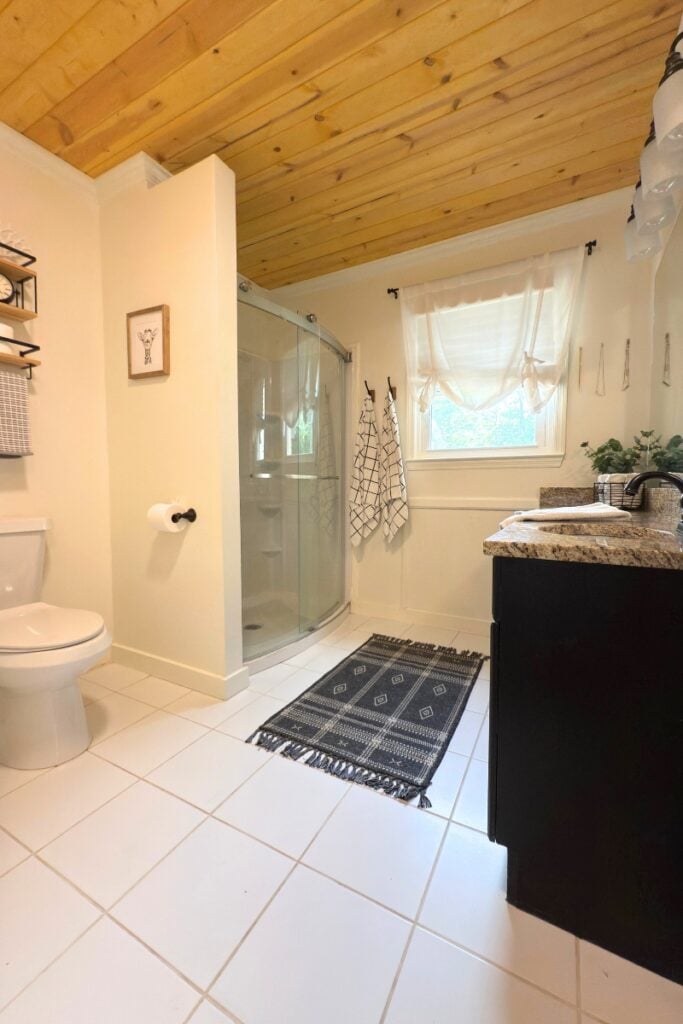


The wood plank ceiling brings warmth and character, and the fresh paint and new bathroom decor give the bathroom a totally new, lovely feel.
Pin It!