Garage Conversion: Converting our Garage Into Living Space
One of the first projects we tackled when we bought our split-level home was our garage conversion.
The idea to convert our garage to living space was pretty obvious for us, as the work had already started when we moved in.
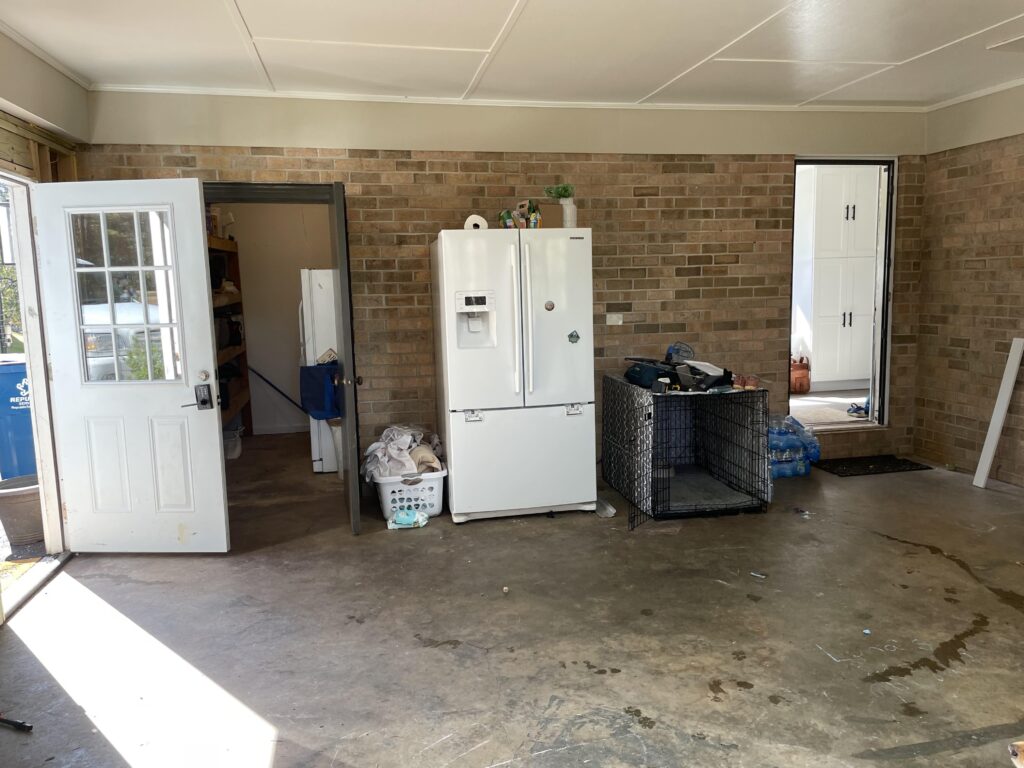
When we purchased our home in 2022, the previous owner had started the garage renovation by closing in the space.
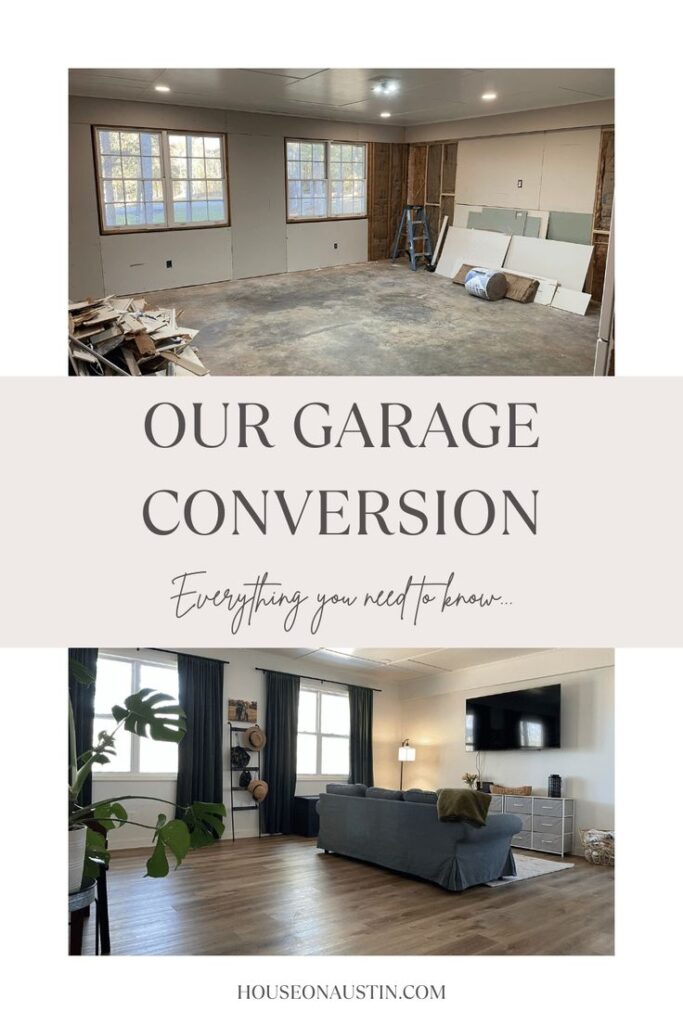
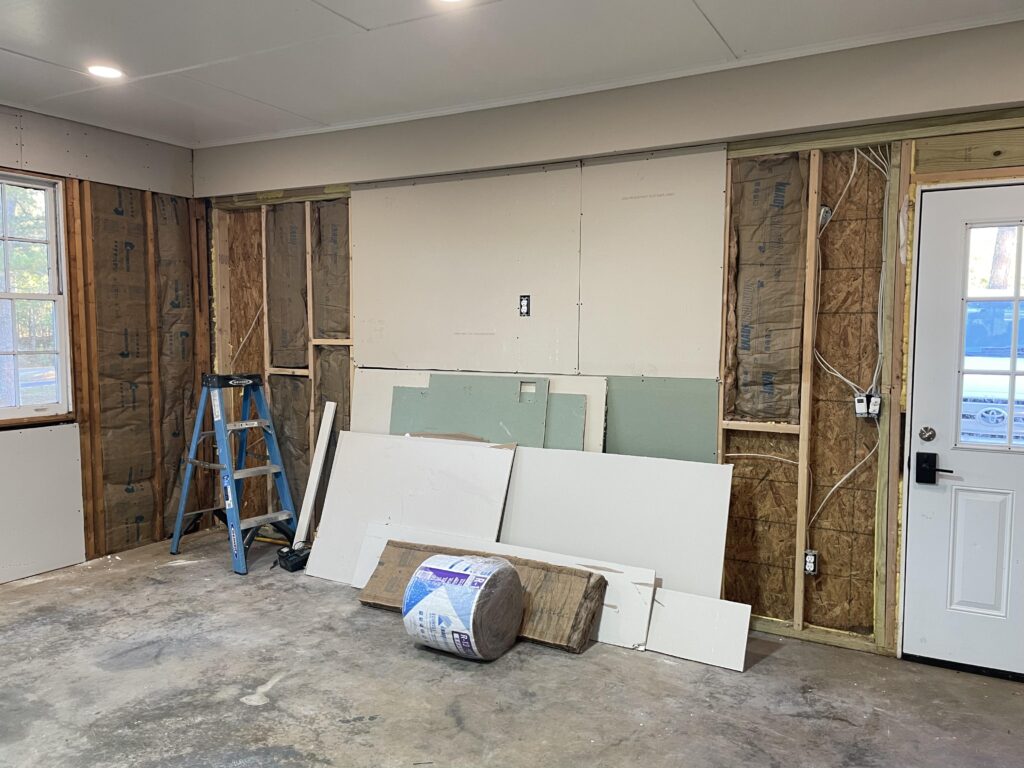
He added a wall to the garage door area, and closed in the breezeway passage. However, the added walls weren’t drywalled and had open insulation (or no insulation, in some parts.)
The garage floor was concrete and quite stained after so many years of use.
We moved in to our 1970s Tri-Level home in 2022. Learn more about it here!
This is where we started:
Read on for the final result!
Our garage remodel has been one of my favorite renovations we’ve done since moving into our house.
This was a two car garage, so it makes a fairly large livable space.
Our house has a decent amount of square footage, but we knew we needed room for a home office, a home gym, and additional space for our large family.
We even considered transforming the garage into a master suite. Ultimately, we made it into a family room/multi-purpose room.
when converting a garage, there are a few things to consider…
There were a few things we had to take into account.
- Would we need the garage for storage?
- Do we want to park our car in the garage?
- Would a garage conversion even be in the budget?
Regarding storage, we have a detached garage next to our house, so we determined that losing the garage space would be worth the new living space.
We knew we’d have somewhere to store our outdoor stuff like our lawn mower, tools, etc. Another benefit is that our garage has a large closet.
This is fairly unusual, from what I’ve seen. This area allows us to store garage-type items we want close at hand, like painting supplies, small tools, and extra cleaning supplies.
Also, in our climate, parking a car inside isn’t as big of a deal (we don’t get snow or extreme cold.) We had gotten used to not using a garage, as our previous house didn’t have one.
And if we did want to park in the garage, we’d have to renovate it anyway by taking out the wall and adding a garage door.
And, it has to be mentioned that we live in the south and the yucky, messy garage was a great hideout for cockroaches. We had no qualms about taking away some “living space” for bugs and other horrid creatures.
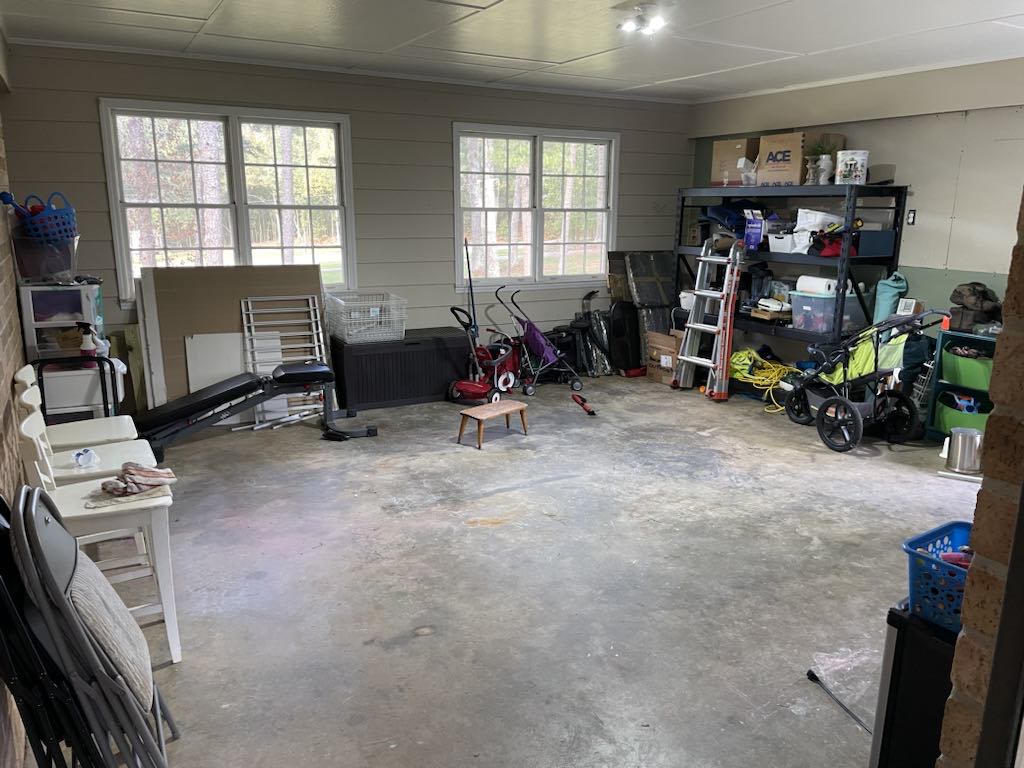
After a lot of thought and discussion, we decided it was worth it to move forward with our garage conversion idea.
Step One: Get Quotes and Determine Garage Conversion Costs
When we moved in to our house, the laundry list of items we needed to take care of was overwhelming. It was truly a fixer-upper, inside and out.
Originally, we planned to convert the garage by ourselves, a DIY garage conversion, but we eventually determined it was a big undertaking given everything else on our plates. So, we got several quotes from contractors in the area, determined the average cost, and picked the one we liked the best.
We did not go with the lowest cost- the contractor we chose was somewhere in the middle. However, his quote met our budget, he had good references and recommendations, and we felt we could work easily with him.
We did determine that we could cut down on additional costs of our garage conversion by doing some of the work ourselves, which our contractor was happy to accommodate.
We discussed with our general contractor whether we would need a building permit, and determined that for our county, this wasn’t necessary. However- its a good idea to check with your county/city regarding local regulations.
Step Two: Clear Out The Space
We had just moved into our house, so we had piles of boxes and other stuff in the garage. Also bugs. We live in the south and it was an old garage with looooots of places for bugs to hide- yikes.
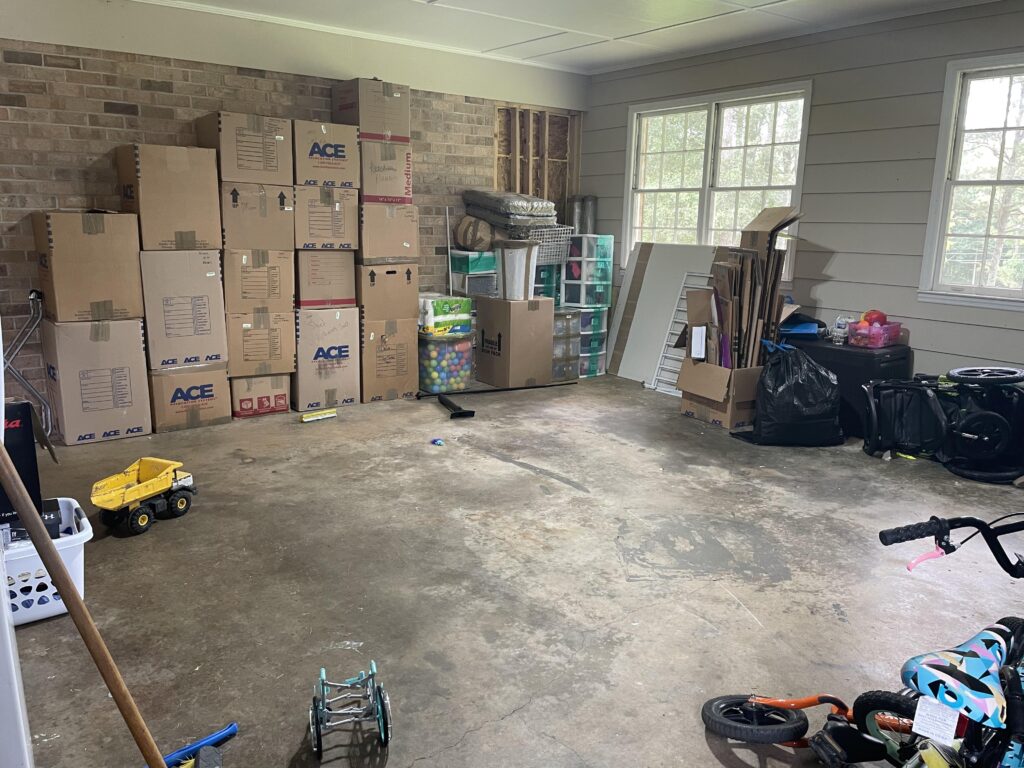
We removed everything (even the bugs) out, and put our stuff in the closet in the garage, or in our detached shop.
Step Three: Tear Down Siding, Put Up Insulation and Drywall
The exterior wall facing the front of the house was all siding with no insulation. So, the contractor first had to tackle ripping out the siding.

One positive thing about our garage is that it already had two large windows, allowing for plenty of natural light. Not having to cut out walls to create windows saved us on the overall project cost.
However, they were OLD and needed to be replaced.
There was also an interior door, and an exterior door leading to our parking spaces.
Because our house exterior is brick, two of the interior walls in the garage were a tan/brown brick.
Our contractor finished insulating the two exterior walls, and then hung drywall.
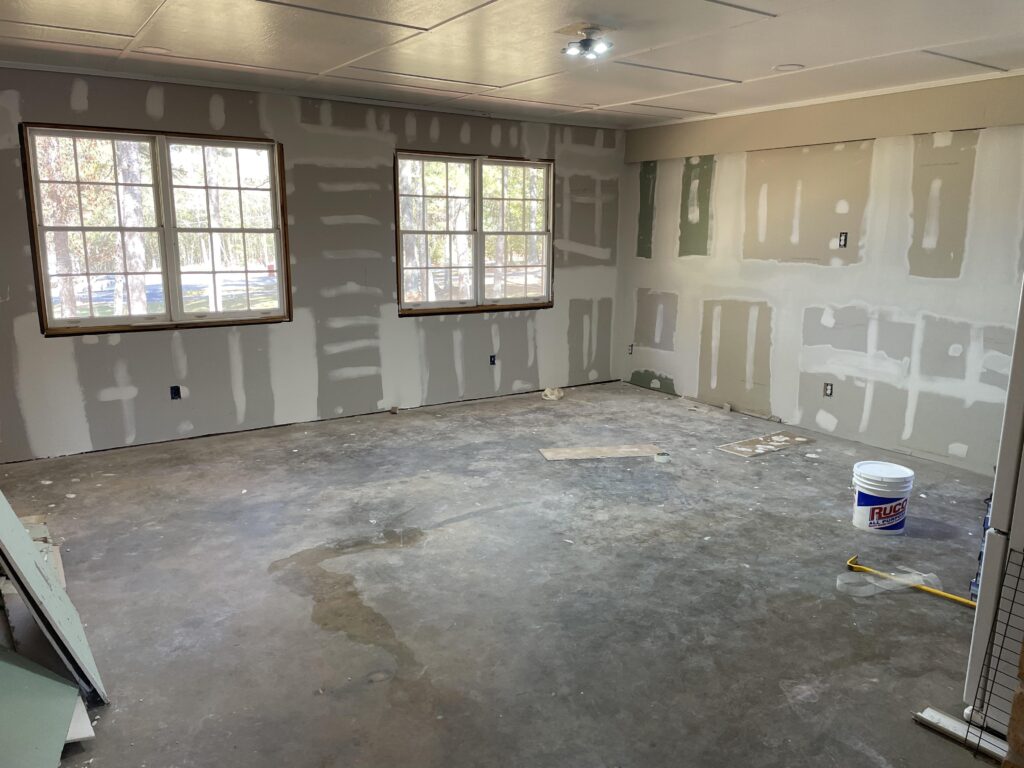
To save on costs, we decided we’d paint everything ourselves.
Step Four: Garage Conversion Electrical Work
We added two additional electrical outlets (under the windows) as well as overhead lights. Our contractor did the majority of the electrical work before the drywall went over the walls. We did not add any electrical work to the brick walls.
Our new living area does not have heat or air, and for now we simply use a plug-in heater for heat and a wall unit for air conditioning. We chose to cut down on overall costs by not adding this in yet.
Some day, we’ll add a mini split like we have in our basement. But that’s a project for another day!
Step Five: Install New Flooring
We were able to add the new flooring directly over the concrete slab. The flooring we chose was Hollywood Boulevard from TrueTouch.
True Touch is a Waterproof SPC Flooring (SPC stands for Stone Plastic Composite) and is a vinyl flooring that stands up really well to water, scratches and dents.
Believe me, we have four kids and two pets- its been tested!
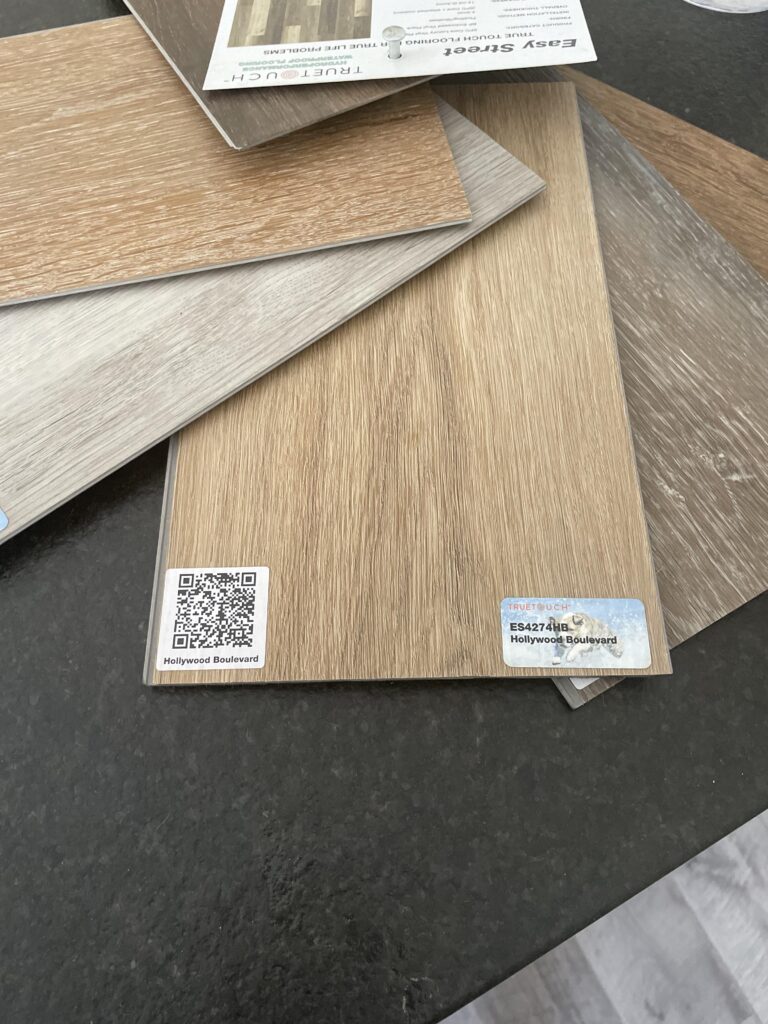
Picking flooring felt like a huge task, because I was so worried I’d choose something I ended up not liking, but luckily we LOVE this flooring.
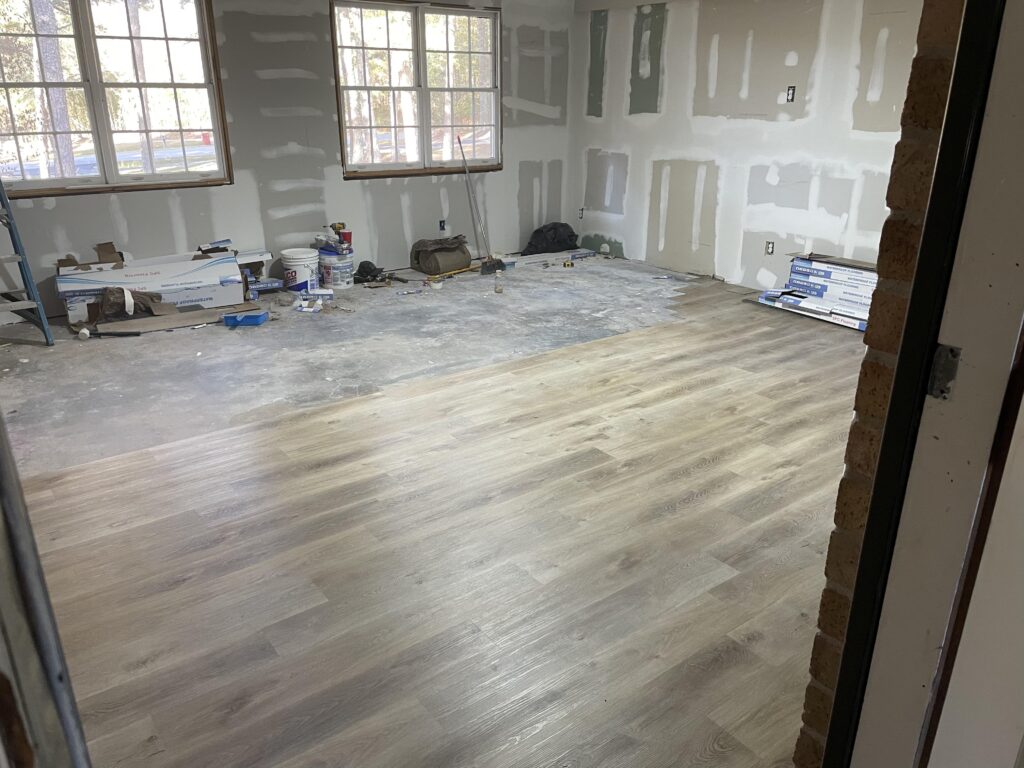
I absolutely love these floors. The main house area has all grey flooring, which I don’t love (that’s a project for another time.)
Having a room with new flooring that I like and got to choose is great.
The ceiling we kept the same- we did clean it well, but the good news is, I kind of liked the design of the ceiling anyway, so we kept that as-is.

Step Six: Finish the Trim Work
Next the contractor installed the trim everywhere but the windows. We went with a basic, pre-primed white board everywhere.
The windows were on order and took a while to come in!
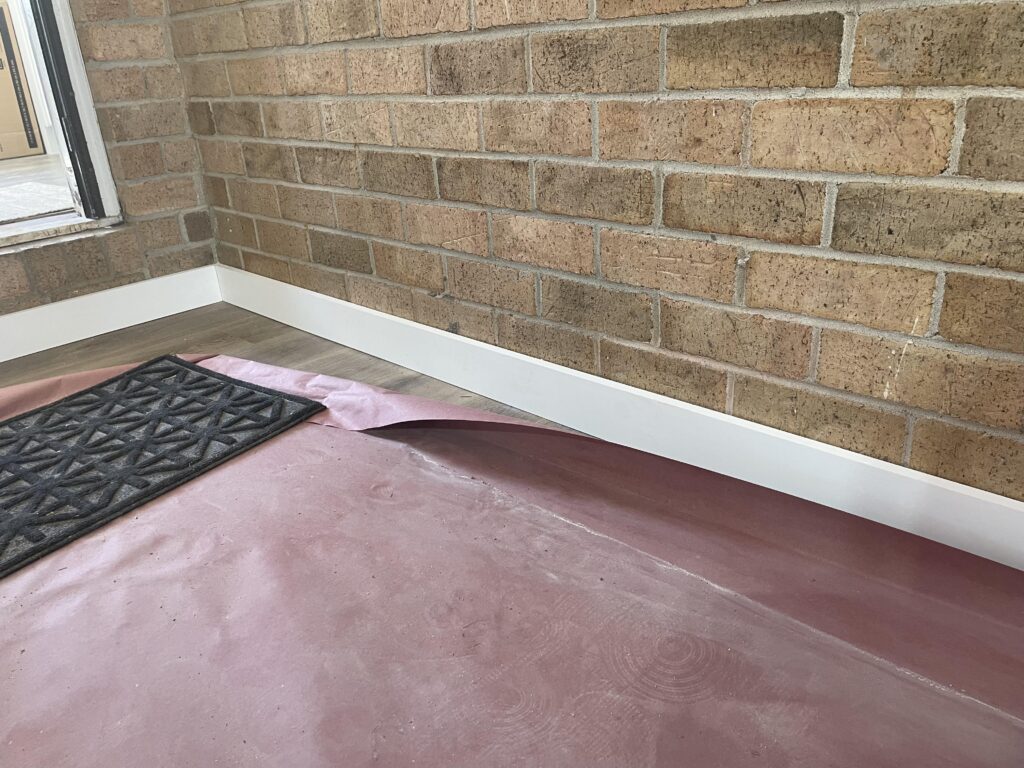
Step Seven: Paint The Brick and Drywall
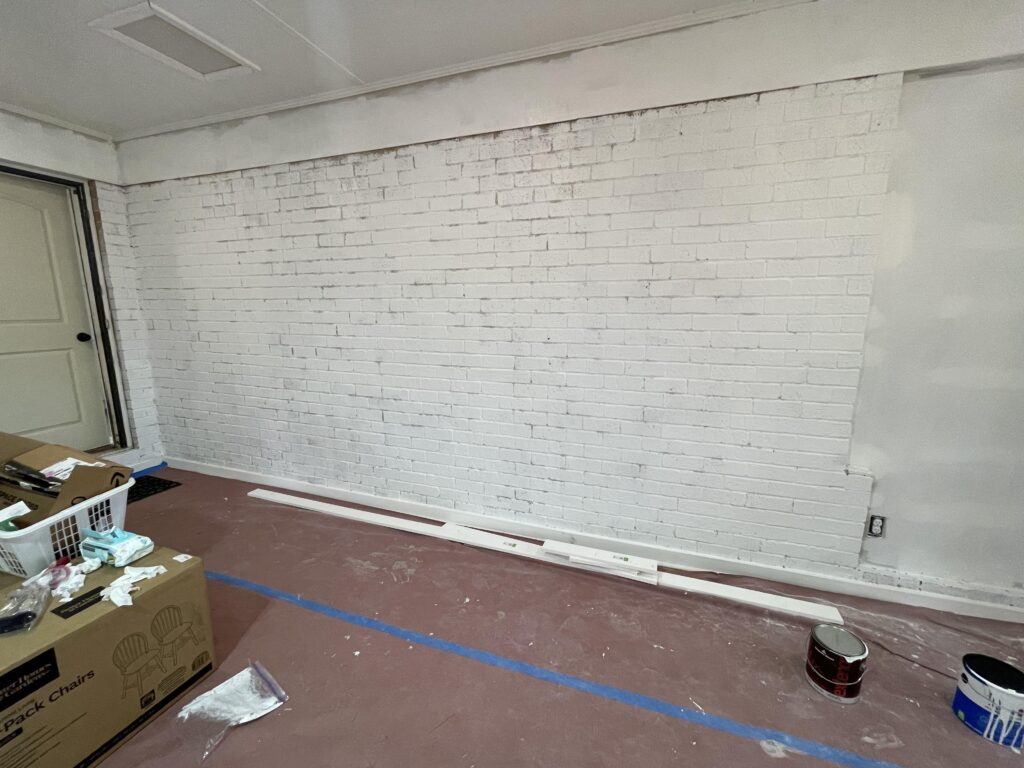
Once the trim was complete, I had a few weeks where I was able to paint everything. We decided to paint the brick, drywall and trim the same color.
I consulted with my brother, a paint contractor in New Hampshire, and used his recommendation for wall paint best suited for brick.
We used Benjamin Moore Exterior Low Lustre Finish Latex paint in pure white.

I’ve been really happy with how well it went onto the brick, and I used it for the walls and trim as well.
While painting the brick, I originally planned to completely cover it. But after the first coat, we realized we liked the slightly white washed look, so we stayed with that.
We love the look! I did have to do about two coats regardless, as brick really soaks up paint.
The paint store suggested I use a paint roller with a 3/4” nap for the brick, which works best with the high texture of those walls.
Step Eight: Install New Windows
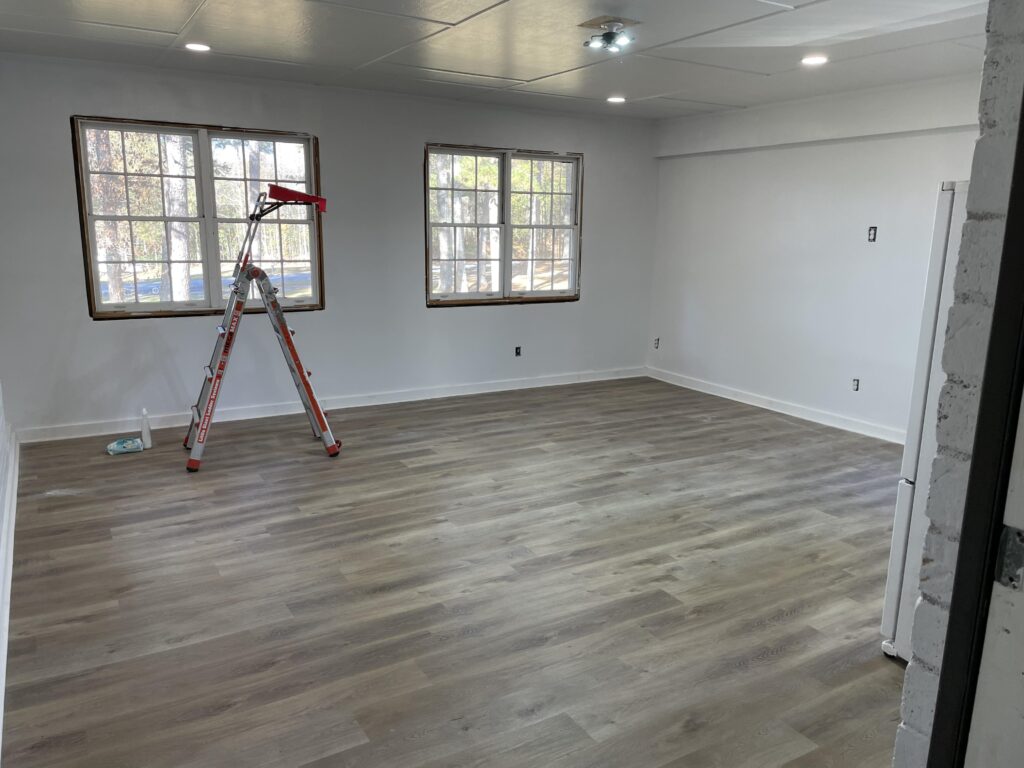
The last step, swapping out the old windows from the 70s for new ones, took a while because the windows were on back order.
When they finally arrived, the two windows were switched out for new ones.
This was right after the new windows were installed- and you can see in this picture that I was already moving furniture in before the windows were done. I just couldn’t wait!

Step Nine: Move in to Our New Converted Garage!
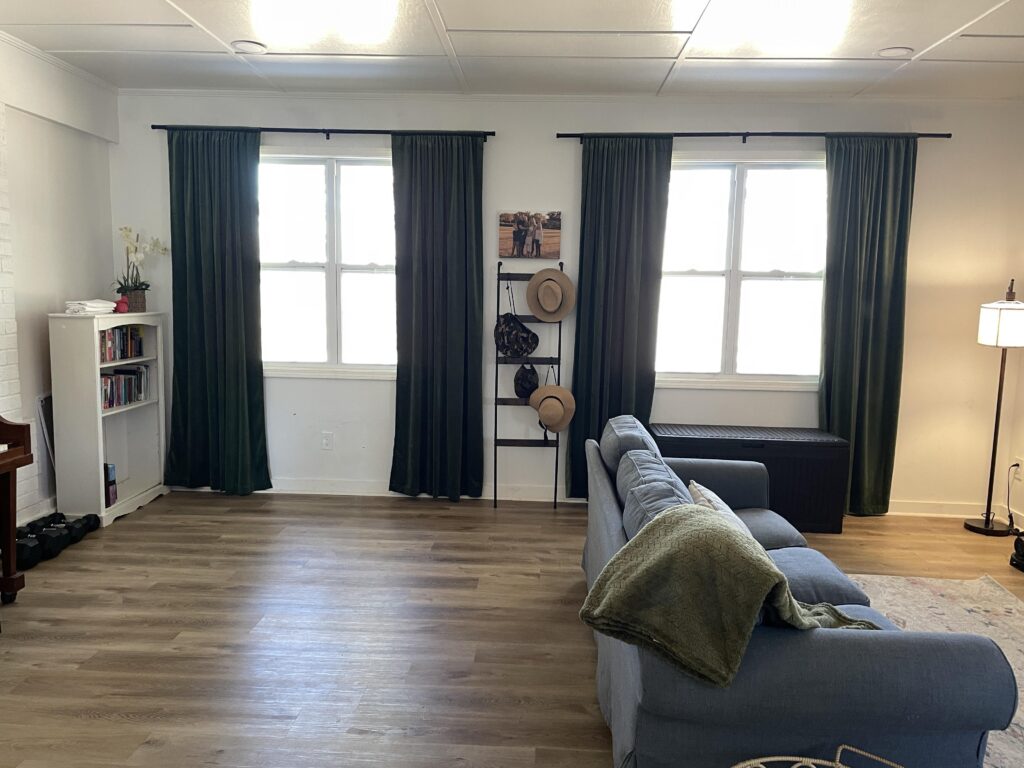
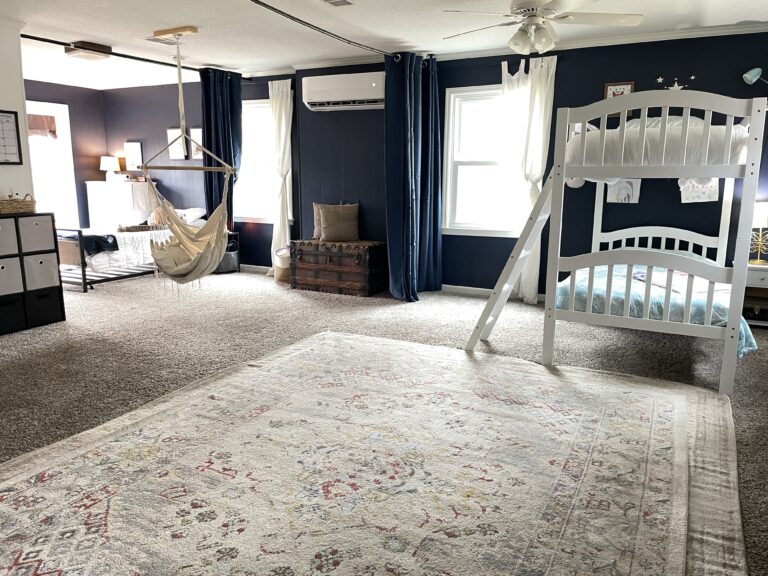
This room ended up having way more open space than I had imagined, which is so awesome! Originally we moved our sectional in, and the kids toys.
As a result, we call this room “the play room,” however, its not really that any more.
We have since moved the sectional back to our sunroom, and created a space for a workout area. And, we decided having the kids toys in the living room was a better option for us.
It’s okay to change your mind…
One thing about new (to you) homes and determining the design of your home is that its ok to move things around! You will know best how you live.
And, I happen to have a *slight addiction* to moving furniture around so, its entirely possible this room may have a completely different layout in a couple months (insert Daniel sighing resignedly.)
We immediately started using our new family room and really have no idea how we did so well without all the extra room!
Adding Storage to A Converted Garage
We did give up a significant amount of storage space. And, we do not have a big utility room or pantry, so we still needed to store some house things in the new garage living space.
To solve this, we kept the extra fridge where it was and added two white shelving units.
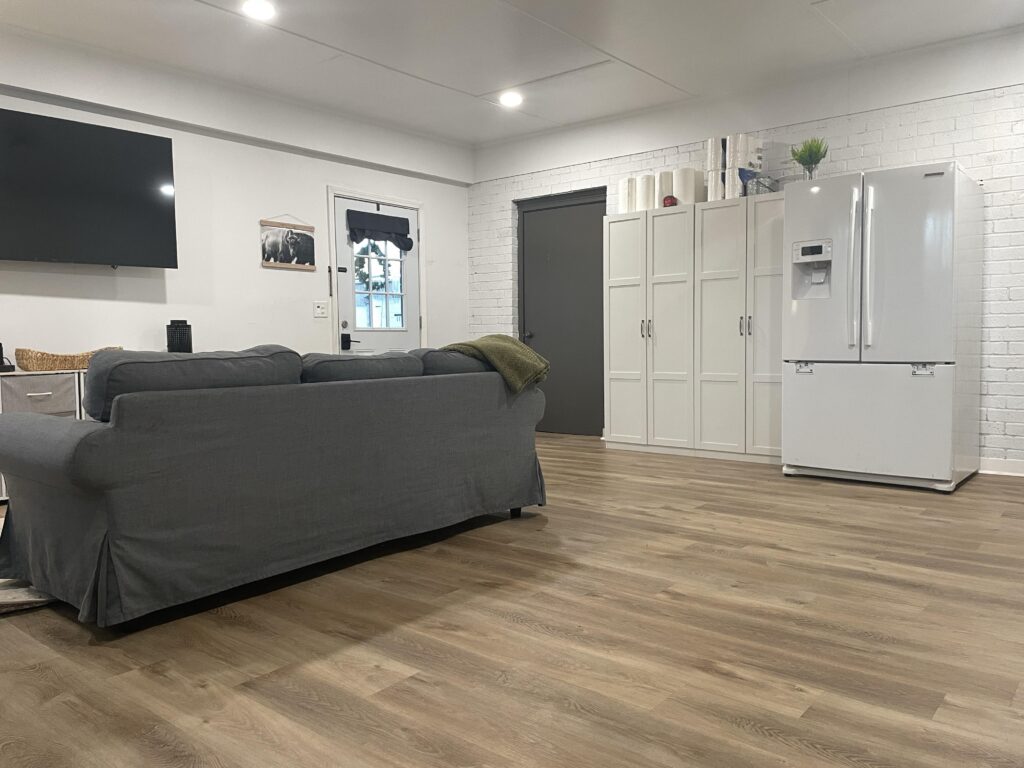
This is where we keep our small appliances, extra paper products, random decor, and anything we think our toddler might use as a sword (those go on top of the fridge lol.)
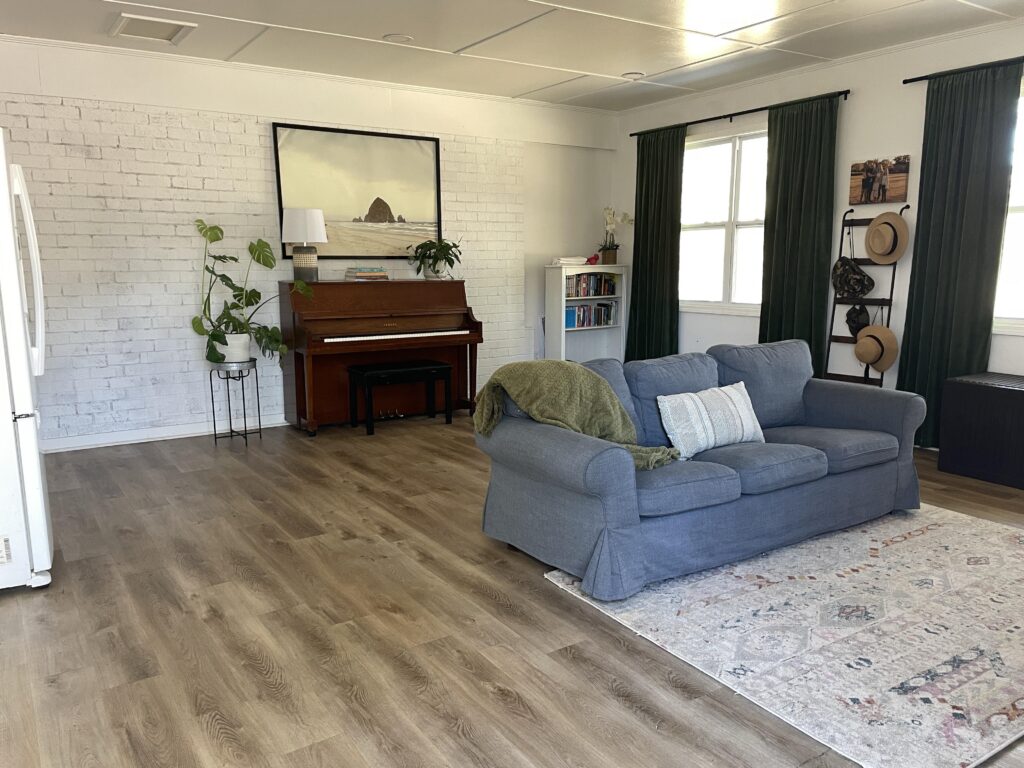
I bought a piano a few months ago and, where did it go? Into the “playroom”, of course!
This really has become a multi-purpose room for us, as we use it a TV/Nintendo space, piano room (works great when a kid is pounding on the keys and you want to shut the door to mute the sound in other parts of the house!), home gym, and general hang out area.
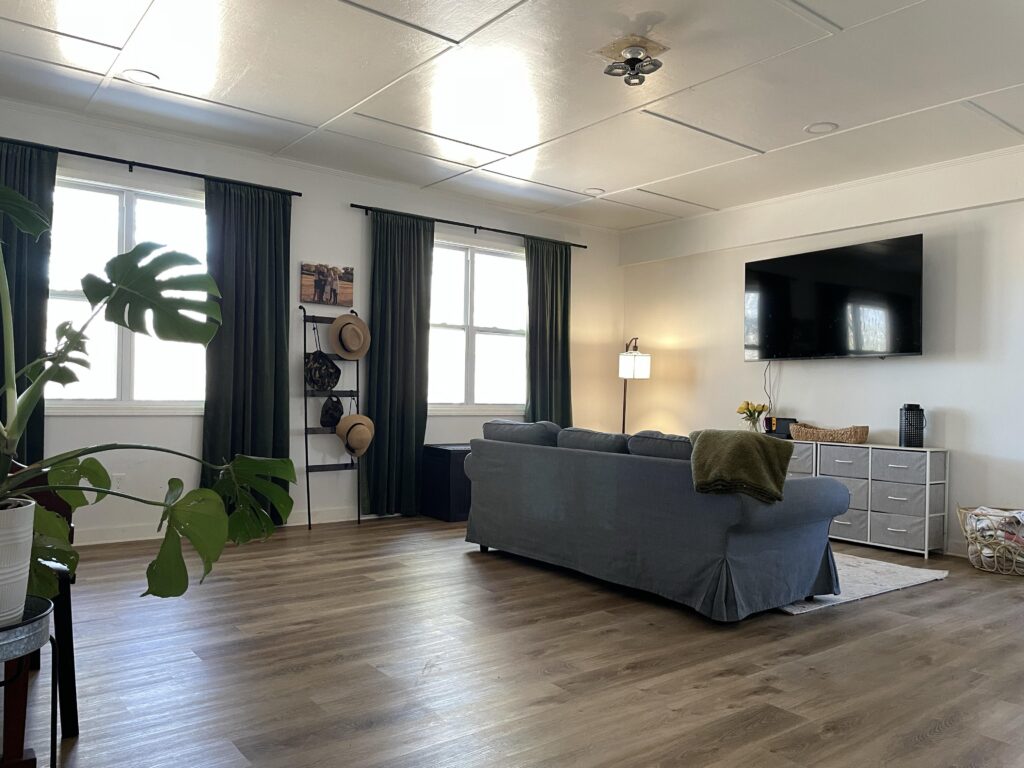
Are you considering a garage conversion?
Converting your garage is a great way to create a new room and find extra space for your family. I’ve seen some people use the converted space for an art studio, for a guest suite, a simple bedroom or even a laundry area.
Its a great way to make use of underutilized garages and add the the square feet of your home’s living space.
Do you have an underutilized garage or room that you could convert to living space? Tell me below!

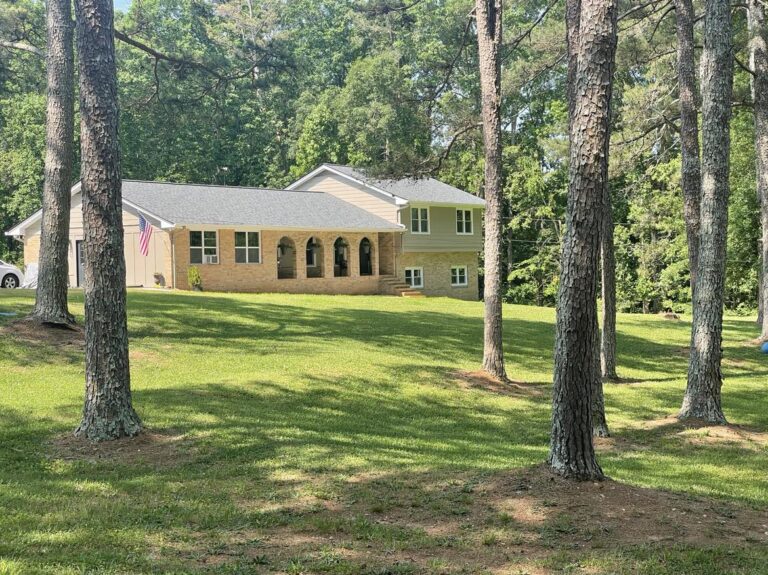



How did it change your curb appeal outside?
Good question! The exterior wall is now Hardi Plank siding and looks really good. I have a photo of it on this post: https://houseonaustin.com/split-level-home-exterior-makeover/