How To Hang Curtains The Easy Way {With A Template}
This post breaks down how to hang curtains the easy way, and walks you through how to make a template for even bracket placement.
Hanging curtains can feel daunting if you haven’t taken on the task before. I get it- I used to rely on Daniel for anything in our house that required a drill.
I was the Queen of Using Thumb Tacks to hang pictures that would inevitably fall if a door across the street slammed a little too hard.
However, in an effort to take on more DIY projects myself, I’ve become more comfortable with using power tools and have found that hanging curtains is really very simple- it just takes a little precision and self-confidence.
If I can do it- you can do it!
I’ve become so confident in my abilities that I even hung curtains recently in my friend Rachel’s beautiful living room, and they look amazing, though I say so myself.
To be fair, she picked out the curtains and hardware and is the one with the beautiful living room in the first place, but still, I’ll take some credit.
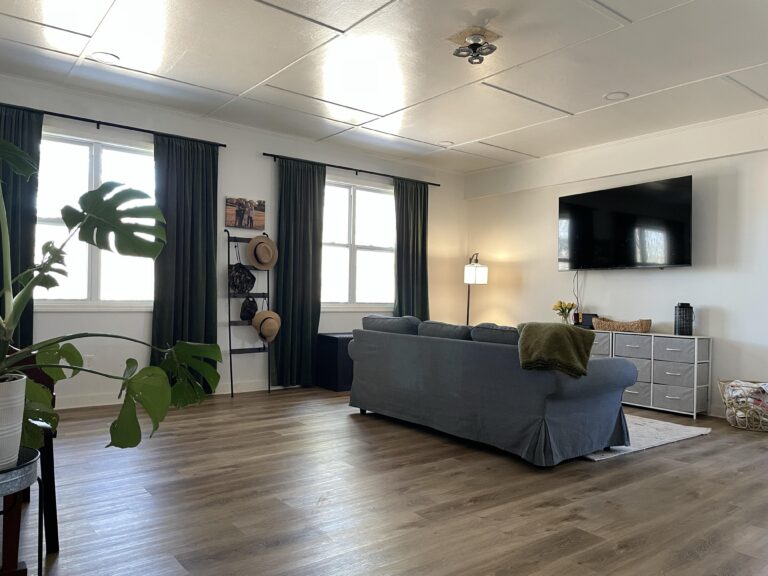
The Living Room Before Curtains:

The Living Room After Curtains:
I mean….gorgeous.
So, how do you accomplish this without drilling a bunch of holes into your drywall, or ending up with wobbly brackets? Read on…
*This post contains affiliate links. When you buy something from our links, we may get an affiliate commission — but it never affects your price or what we recommend. Read our affiliate disclosure here.
How To Hang Curtains The Easy Way
Materials and Tools Needed
• Drill and a screwdriver bit
• 2 Drill Bits: 3/16″ drill bit for pilot holes, larger drill bit if using drywall anchors (I used 11/64″)
• Measuring tape
• Pencil or marker
• Level
• Template material (cardboard or paper)
• Scissors or cutting tool (if using cardboard)
• Drywall anchors and screws

How To Hang Curtains: Step-by-Step Instructions
1. Template Size
• Cut a piece of cardboard or sturdy paper into a rectangle, approximately 12” wide and 8” tall (adjust depending on window size).
2. Cut Out Corners
• Cut out notches for the window corners for each side so that your cardboard fits tightly against the window trim.


3. Mark Key Points
• Measure 4-6 inches above the window frame (or the desired height for the curtain rod) and make a horizontal line (I like to use a level here to make sure the line is straight) across the template to indicate bracket height.

• Measure 2-4 inches outward from each side of the window frame and mark that spot on the horizontal line to indicate where the brackets will be placed.
Quick note: the above living room curtains butt up against a wall, so I wasn’t able to go more than an inch past the window frame. Go with what works and looks best for your own placement, but generally speaking, install 4-6 inches high and 2-4 inches wide.

• Hold the curtain rod bracket up to the template where you made the mark, and make two marks in the screw holes.
• Label “Left Bracket” and “Right Bracket” for clarity.

4. Cut or Poke Guide Holes
• Use a hole punch or scissors to create small holes where the bracket screws will go.
5. Usage
• Hold the template above the window, aligning the corners with the window frame.
• Mark through the guide holes with a pencil where the screws for the brackets should go.
• Repeat for each window.
6. Install Brackets

• Drill pilot holes with the 3/16″ drill bit at the marked spots.
• If you do not drill into a 2×4, make a larger pilot hole the size of your drywall anchor. I used an 11/64 drill bit, but this may change based on your drywall anchor.
Tip: I do not use stud finders because I find them annoying. You can determine if you’re drilling into a 2×4 if you meet with resistence. If it goes in easily, you will need a drywall anchor.
• If using drywall anchors, lightly tap them into the pilot hole with a hammer.
• Screw in the curtain rod brackets.
Hot Tip: Put your cat to work.


This method for how to hang curtains with a template ensures consistent placement across all windows and is easy to replicate!
Another before and after, because curtains just add so much warmth and elegance to this room!


Products In This Post:
Pin It!


