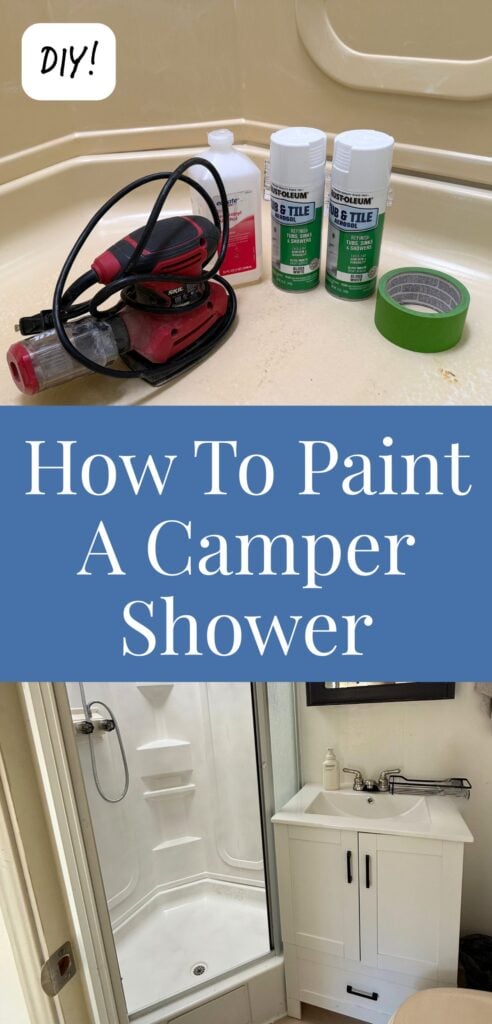
How To Paint A Camper Shower
We painted our camper shower with spray paint and it was such an instant and relatively easy upgrade that I had to share it with y’all.
If you have an older camper, you know how quickly things can start to look dated—even if they’re still perfectly functional. That was exactly the case with our camper shower.

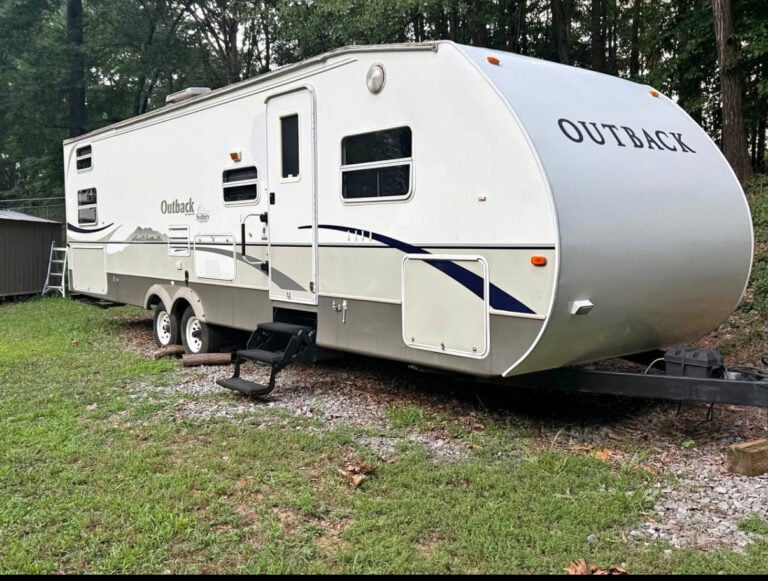
Our camper is over 20 years old, and while everything still worked, the shower had turned that dull yellow color that just makes the whole space feel old and a little grimy, no matter how clean it is.
The good news? You don’t have to replace the entire shower to make a huge difference.
We decided to paint ours, and the results were better than expected.
Steps To Paint A Camper Shower
The glass doors on our shower were still in great shape, so we left those alone and focused just on the shower base and walls.
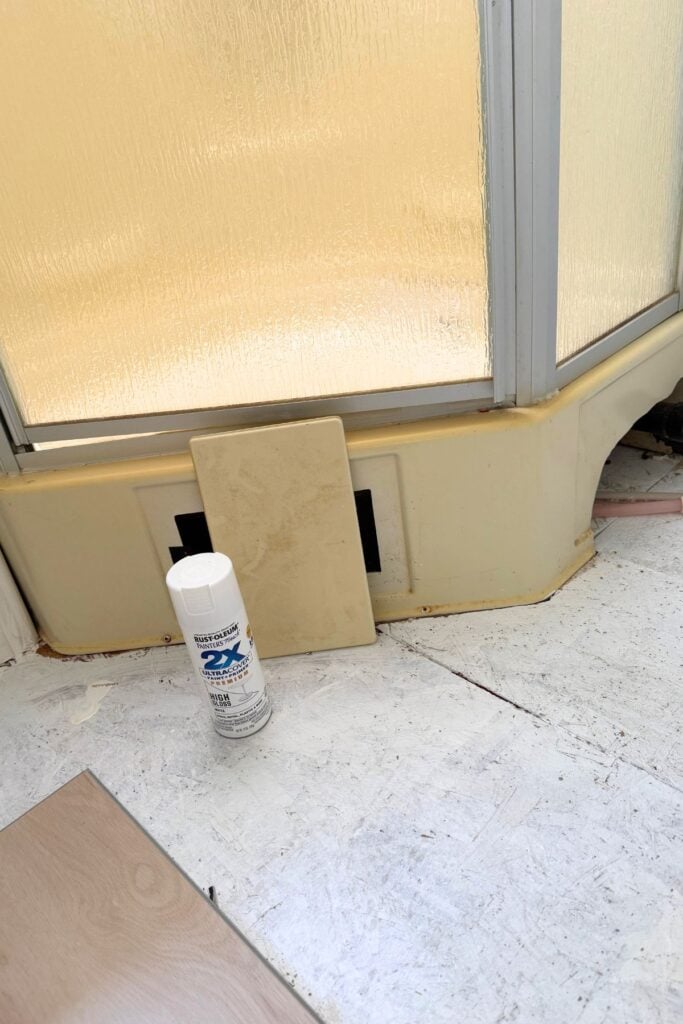
Before painting the inside of the shower, I used a regular can of Rust-Oleum to spray paint the base of the shower, because I wanted to see how well it would stick, and it doesn’t get direct water.
It worked well and convinced me I needed to paint the entire thing.
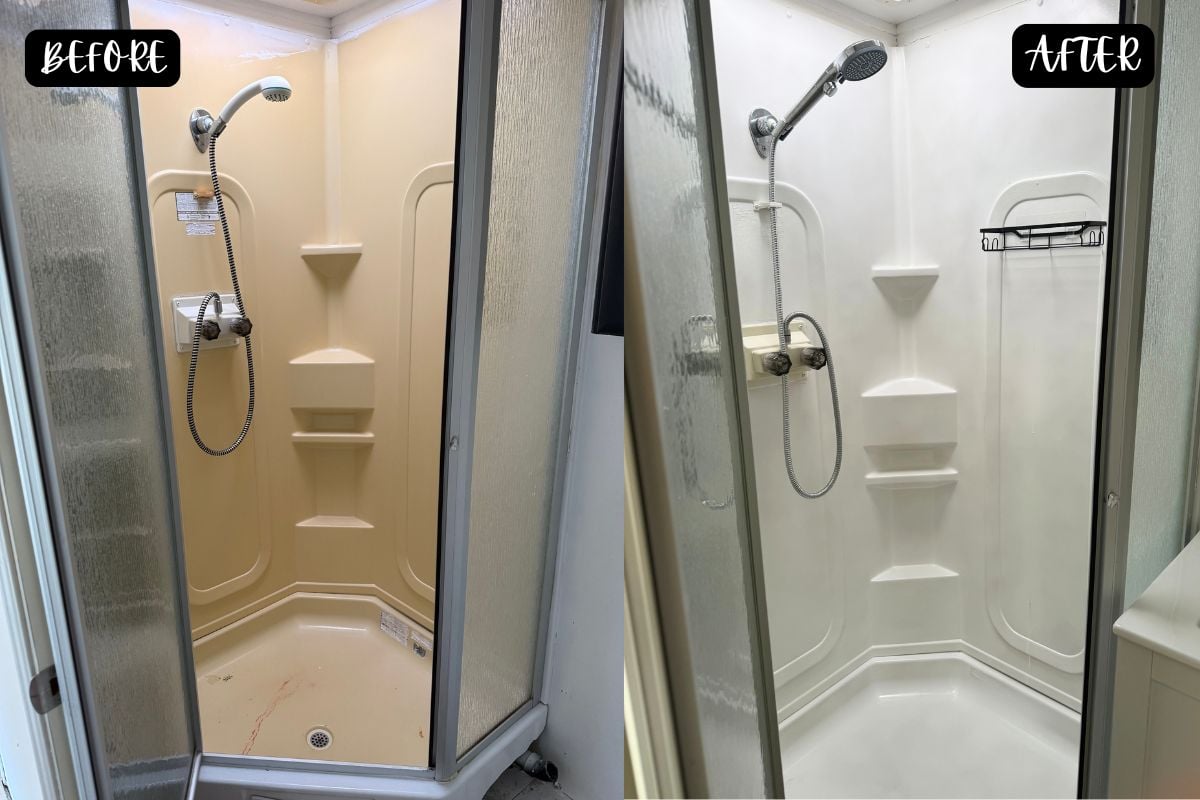
The picture above really shows how yellow and gross the shower was.
Supplies You’ll Need
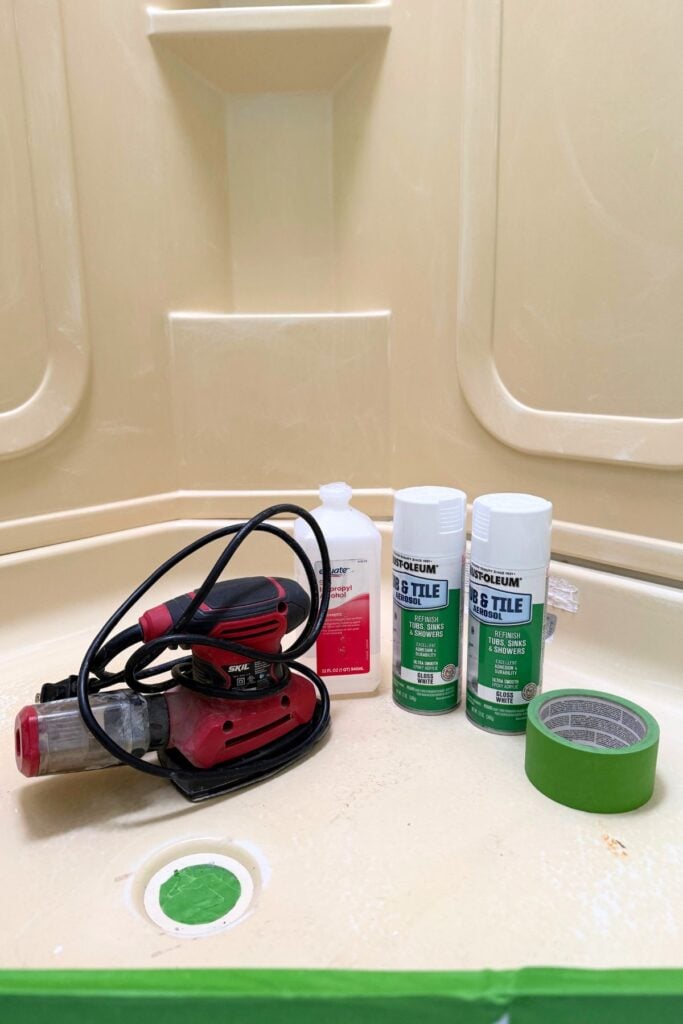
- Rust-Oleum Tub and Tile spray paint (we used 3 of these cans)
- Orbital sander (I love mine that I got off Amazon over 4 years ago)
- Sandpaper (medium grit works well for scuffing the surface)
- Tack cloth (for removing sanding dust)
- Rubbing alcohol (final wipe-down)
- Clean rags or paper towels
- Painter’s tape
- Plastic sheeting (to cover glass and surrounding areas)
- Cardboard (extra protection from overspray)
- Industrial respirator mask (rated for fumes/chemicals like this one—not a basic dust mask)
- Gloves
- Safety glasses
The Prep
First, we gave the entire shower a really thorough cleaning. I just used a shower cleaner I typically use in our house.
After that, we sanded all the surfaces using an orbital sander to help the paint adhere properly.
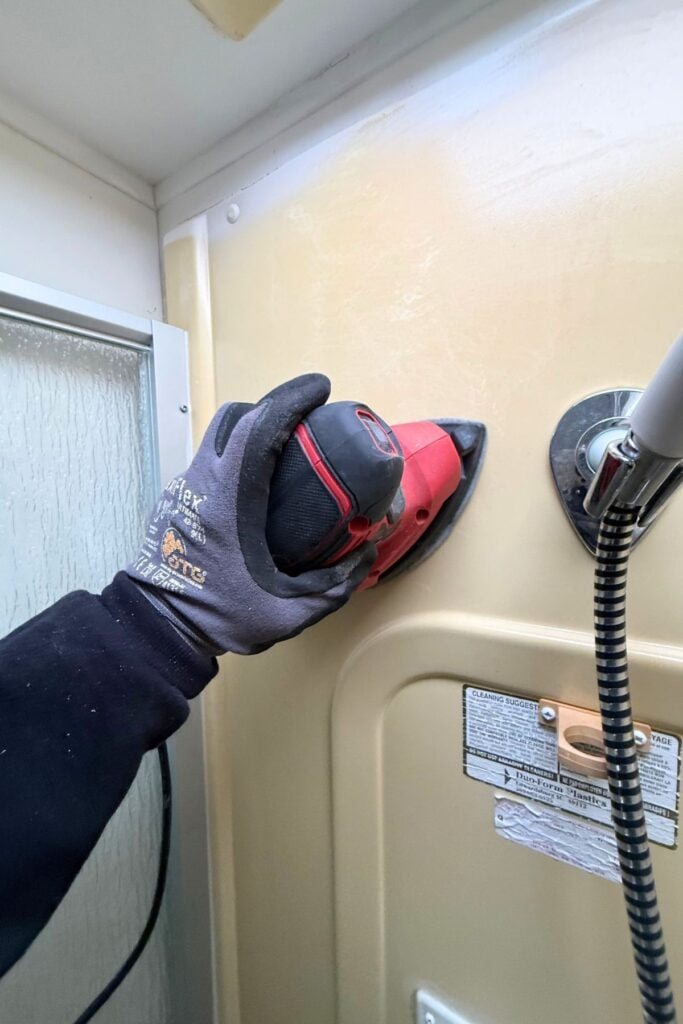
Once sanding was done, we cleaned everything again—first with a tack cloth to pick up dust, and then wiped it all down with rubbing alcohol to make sure it was completely clean and residue-free.
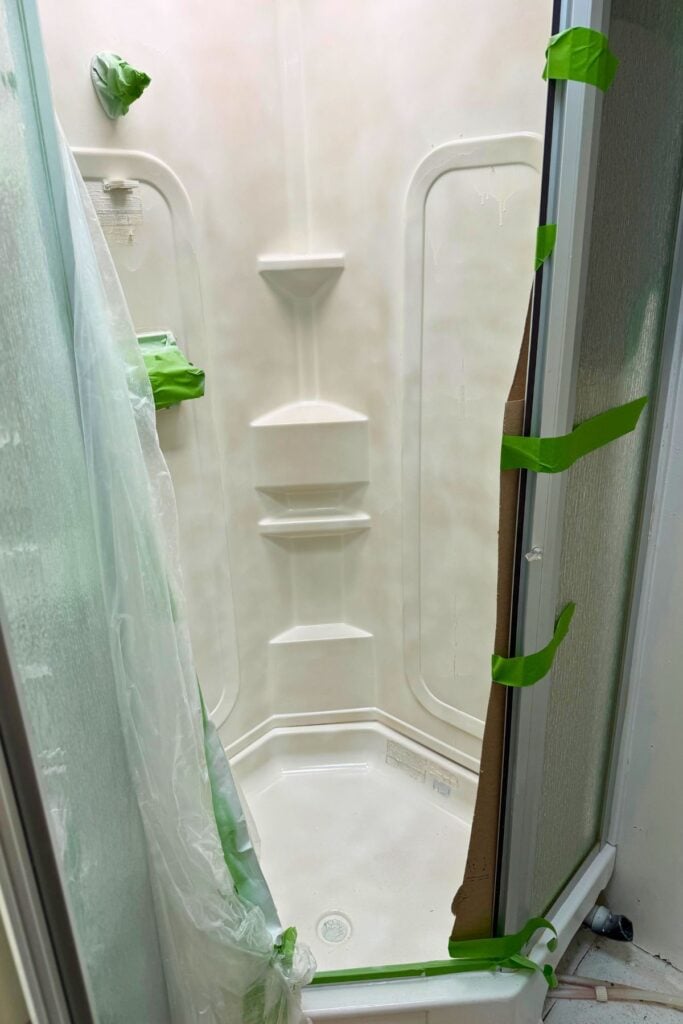
Once everything was dry, we taped off all the edges and used a combination of plastic and cardboard to protect the glass and surrounding areas. This step takes a little time, but it’s absolutely worth it to avoid overspray.
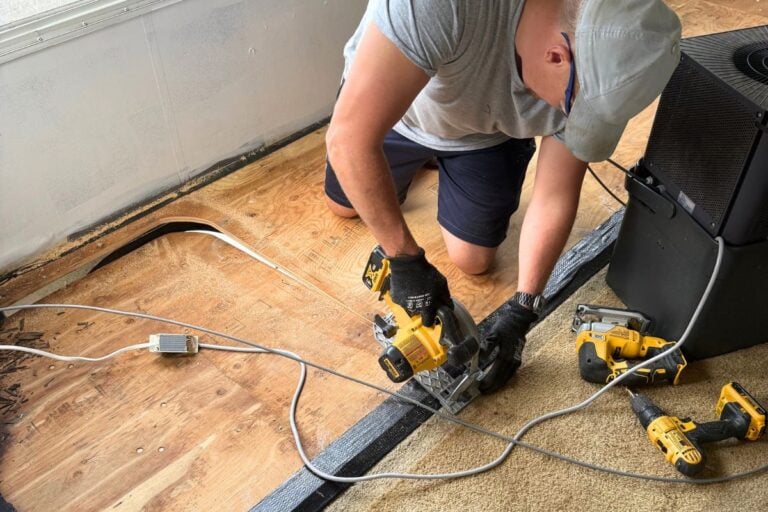
We had already removed the flooring (I’ll be blogging about the new flooring soon!) and didn’t install the new flooring in the bathroom until the shower was done.
The Painting
For paint, we used Rust-Oleum Tub and Tile spray paint. This stuff is no joke. The fumes are extremely strong and toxic.
A regular mask didn’t cut it at all. I had to switch to an industrial-grade respirator to handle the fumes safely. If you’re planning to do this, make sure you have proper ventilation and the right protective gear!
As for the painting itself, don’t expect perfection on the first coat. Our first coat looked very splotchy. The second coat improved things, but it still wasn’t where we wanted it.
We ended up doing three coats total, which gave us a much more even, solid finish.
In total, we used three cans of spray paint at about $24 each. I bought ours at a hardware store in town, but noticed they’re slightly cheaper (for now) on Amazon.
It adds up quickly, but it’s still far less expensive than replacing the entire shower, and the visual impact is huge.
I won’t pretend this is a fun project! Let’s be honest, not many of our camper projects have been a real delight.
Between the fumes and the wait time between coats, it takes some patience. But if you stick with it, the results are worth it.
The End Result
While we were at it, we also replaced the shower hose and spray head, which was a quick and easy upgrade. I found this inexpensive set on Amazon and it was easy to install.
We chose to keep the existing hot and cold handles since they were still working fine and we didn’t want to spend extra money where we didn’t need to.
I’m tempted to paint them too, but its not a priority at the moment!

Since finishing the project, we’ve used the shower many, many times, and we’ve had zero issues with the paint holding up. That was honestly our biggest concern going in, but it’s proven to be really durable.
The difference in appearance is night and day. Even when the shower door is closed, you can see the base—and before, it always looked dated and a little dirty.
Now it’s bright white, clean-looking, and it ties in perfectly with the other updates we’ve made to the bathroom.
Stay tuned for a post all about our camper bathroom remodel!
If you’re dealing with an older camper, this is one of those upgrades that delivers a lot of impact without a full remodel or expensive new shower.
It takes some effort, but it’s absolutely doable, and holds up great.
Paint A Camper Shower FAQs
Does spray paint really hold up in a camper shower?
Yes—it has held up extremely well for us. We’ve used the shower many times with zero issues, and the finish still looks great. Make sure you use a spray paint made for showers/tubs.
How many coats of paint do you need?
Plan on at least three coats. The first coat will look splotchy, the second improves it, and the third really evens everything out.
Is this project safe to do indoors?
Only with proper ventilation and the right mask. The fumes are very strong, so you’ll need an industrial respirator and plenty of airflow while painting.
You May Also Like:
Camper Curtains Hack: No Holes, No Sewing
DIY Camper Roof Replacement {Decking + Membrane}
Camper Remodel: Slide Out Floor Replacement
Pin This For Later