Camper Floor Replacement In Slide Out: Fabricating The New Floor
Today we’re sharing part one of our Camper Floor Replacement in Our Slide Out.
This post may contain affiliate links. See our affiliate disclosure here.
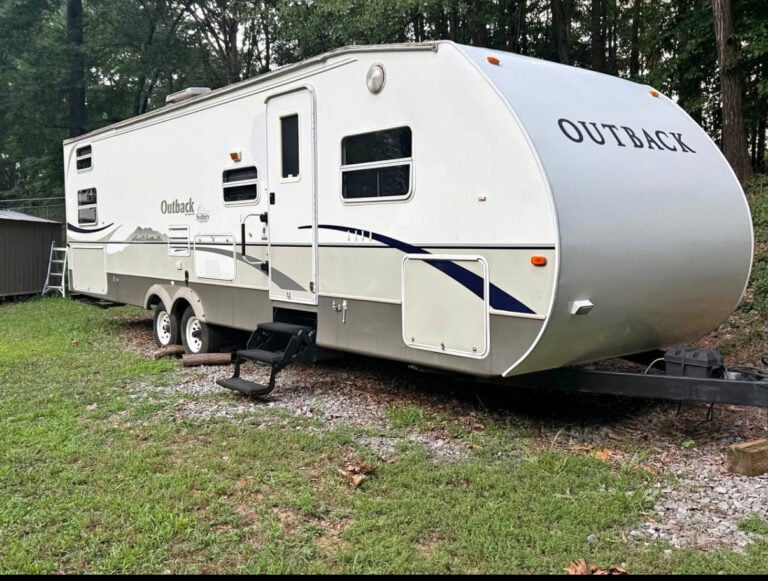
We bought a used camper a few weeks ago, hoping it would just be a fun “facelift” project. Instead, we uncovered a long list of issues—one of the worst being a moldy, crumbling subfloor in the large slide out.

Our plan was simple at first: remove the disgusting, stained carpet and replace it with vinyl flooring.
Soon after buying the camper, we pulled out the couch (which we dropped off at a thrift store) and removed the dinette table and benches. We set the dinette aside in our shop since we plan to reuse it with new cushion covers.
When we ripped up the carpet on the slide out, we realized it wasn’t just the carpet that had to go.
The carpet under the slide was actually screwed down beneath the lip of the old subfloor, which meant we couldn’t remove it without tearing into the floor itself.
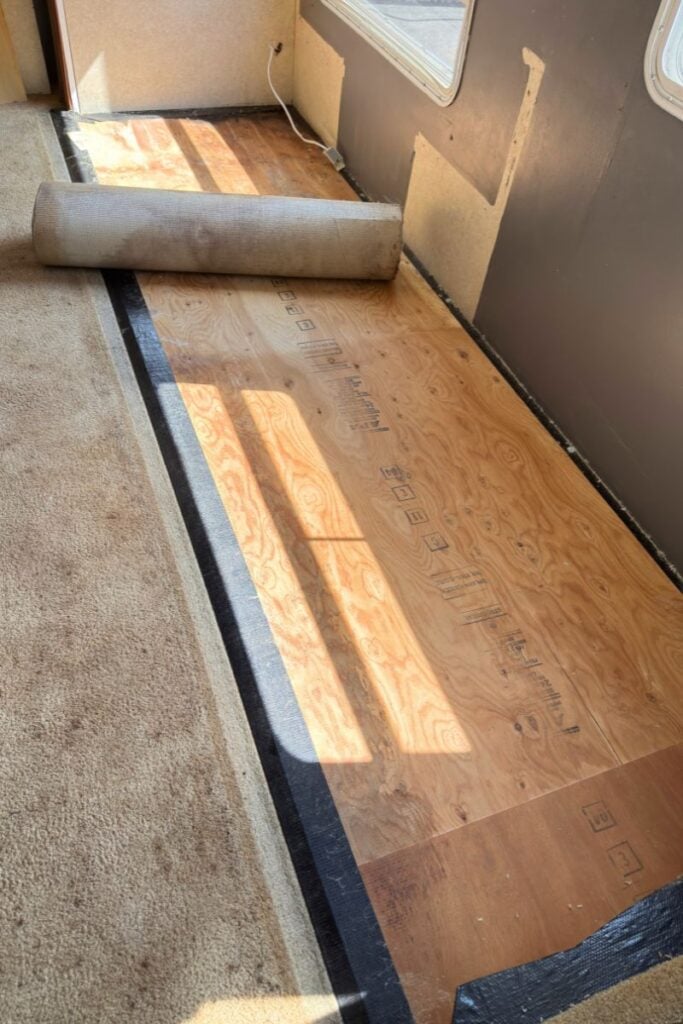
That’s when we found the real problem: a large section of plywood that was completely ruined. So much for an easy flooring swap!
The camper already had a musty smell- removing the old carpet and revealing this rotten flooring made it smell even worse. Ugh!
Camper Floor Replacement: Fabricating the New Slide Out Floor
Materials Used
- 3/8-inch plywood sheets (x4)
- Heavy-duty wood glue (this Titebond Ultimate Wood Glue worked great)
- Seam tape
- Gorilla Waterproof Patch and Seal
- Weldwood High Strength Rubber Tan Contact Cement
- Mobile Home RV Flex Mend Belly Bottom material
- 5/8″ finishing nails
- Flex Mend tape
- Sandpaper
- Brushes, paint rollers and metal spatulas for glue application
Power Tools Used
- Circular Saw (we have this one)
- Finishing Nail Gun
We’re not experts, but Daniel is a creative problem solver with an engineering background, which always helps with projects like this.
Normally we start projects by researching what others have done, but we had trouble finding anyone with a camper as large as ours who had tackled a full slide out floor replacement.
Our Keystone Cougar slide out measures 12 feet 3 inches by just under 4 feet—big enough that patching just the rotten section wasn’t a great option.
Replacing only part of the plywood would have left us with a seam that would be difficult to stabilize and would require matching the black plastic material underneath.
We decided it would be better to replace the entire slide out subfloor.
For reference, our camper uses a rack and pinion system for the slide mechanism. That meant we could remove the floor without affecting the way the slide actually moves, as long as we didn’t interfere with the hardware.
Building the Camper Floor Replacement Board
The original subfloor was a single 3/4-inch-thick piece of plywood. Daniel called around to local lumberyards but couldn’t find a sheet large enough. His solution was to fabricate one by layering 3/8-inch plywood sheets.
He cut two boards into 6-foot 1.5-inch sections and joined them end to end to reach the needed 12 feet 3 inches.
We added seam tape to the boards to help keep them in place when putting the other boards on top. To be honest it didn’t work great- they still moved! It took some time to get everything lined up correctly.

He then placed another full-length 8-foot sheet on top, overlapping the seam, and glued it down with heavy-duty wood glue. Finally, he cut a 4-foot 3-inch section from the last sheet to cover the remainder.
We used paint brushes and rollers to apply the glue, which worked great.
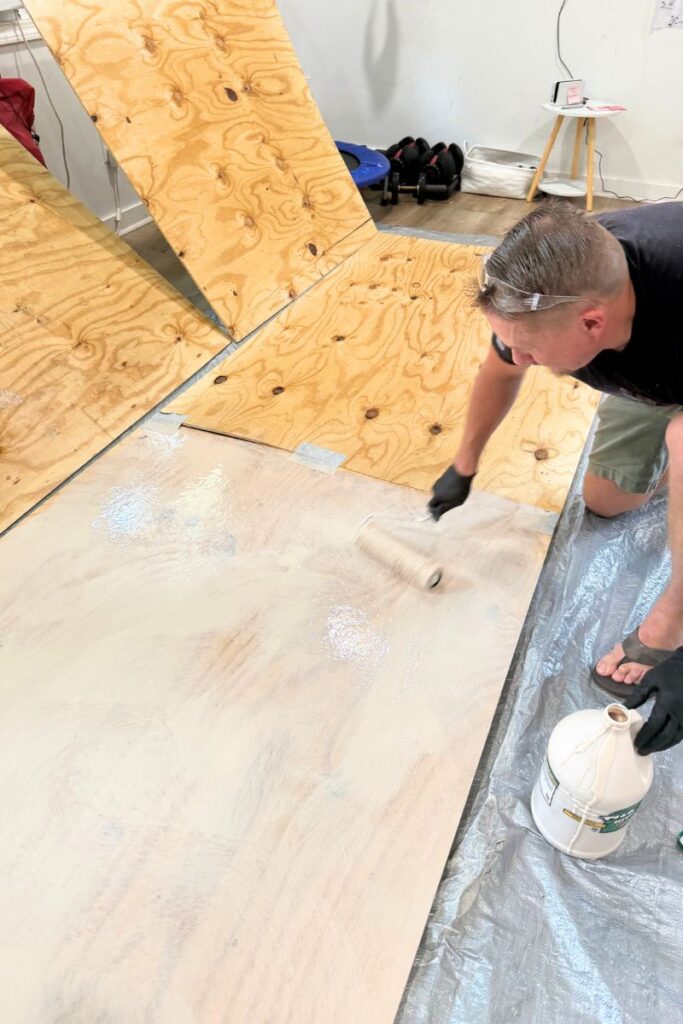
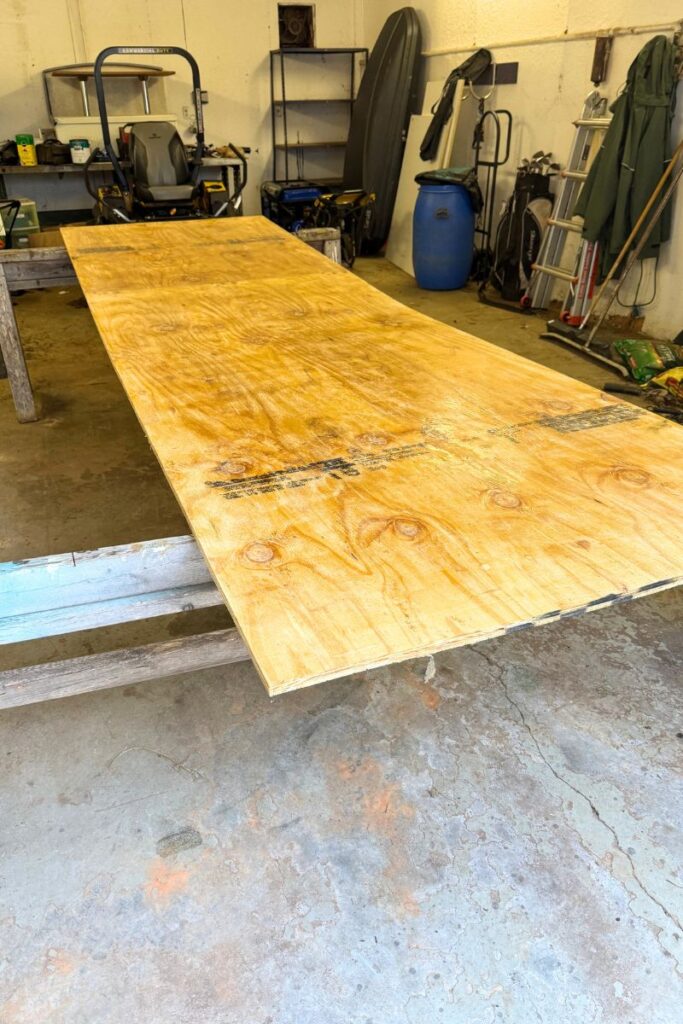
By staggering the seams and gluing the layers together, we ended up with a solid 3/4-inch board at the correct size.
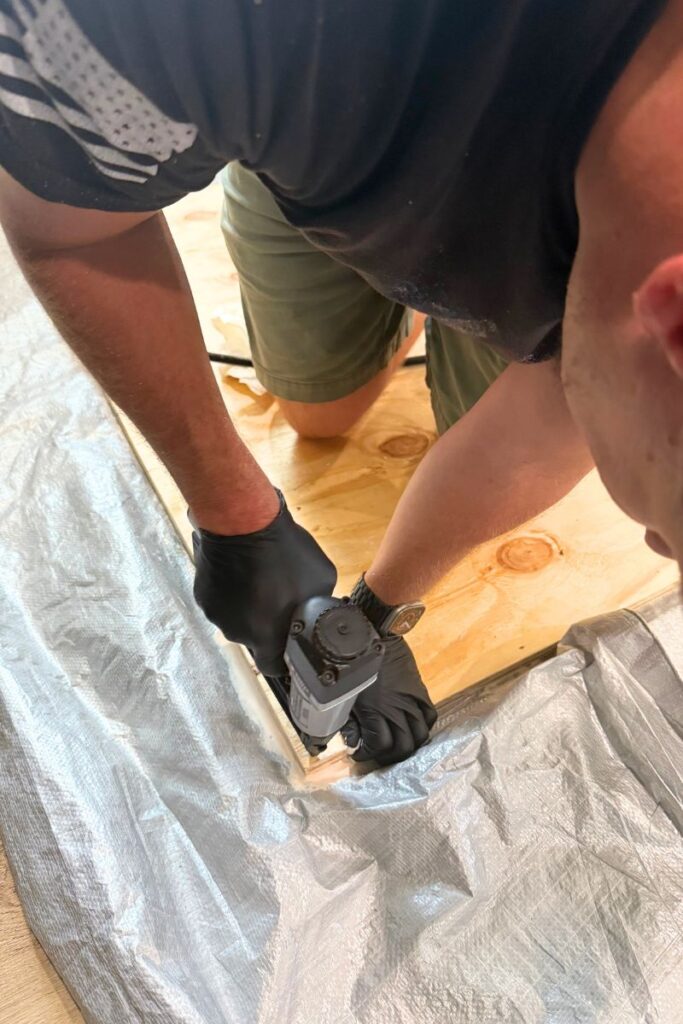
Daniel followed up by running finishing nails with his nail gun along the edges, across the seams, and through the middle of the boards to give the floor extra stability.
He used approximately 2,400,325 nails.
We let the new board cure for several days with heavy items stacked on top to ensure the glue set well.
Final Cuts
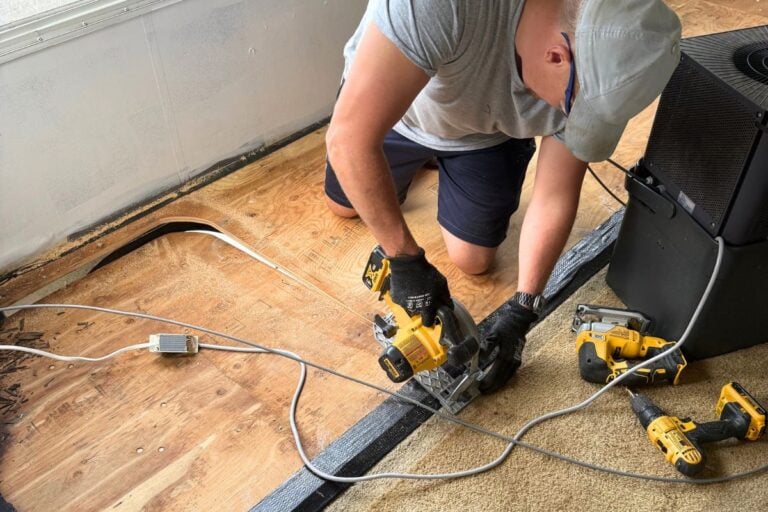
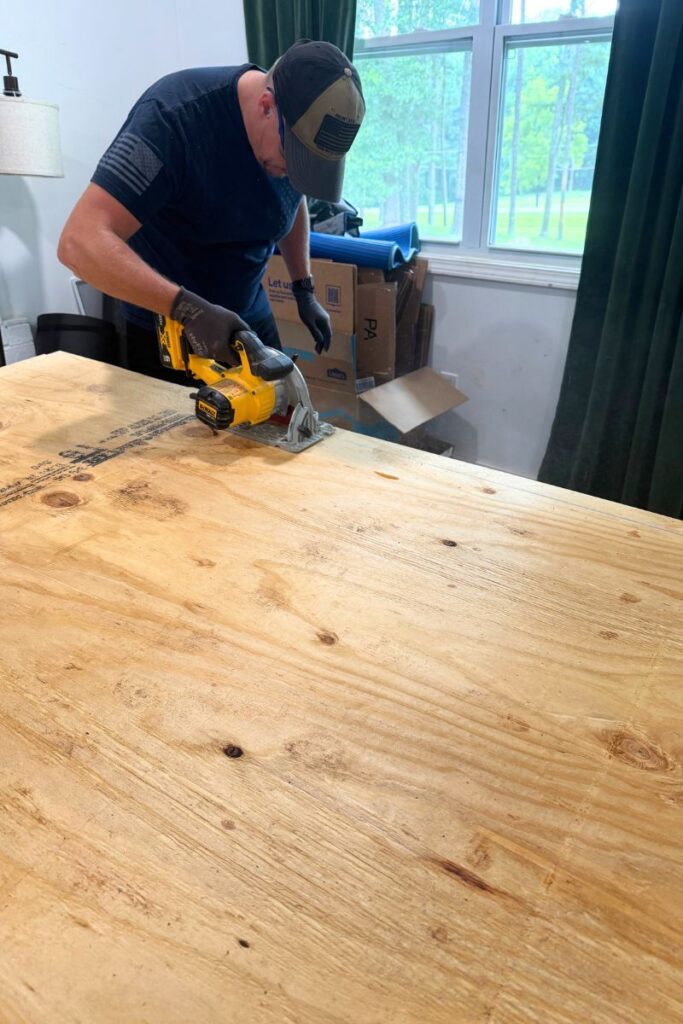
After the board had set, Daniel trimmed both sides with his circular saw to fit the slide out’s width, which measured just under four feet.
Waterproofing and Underside Protection
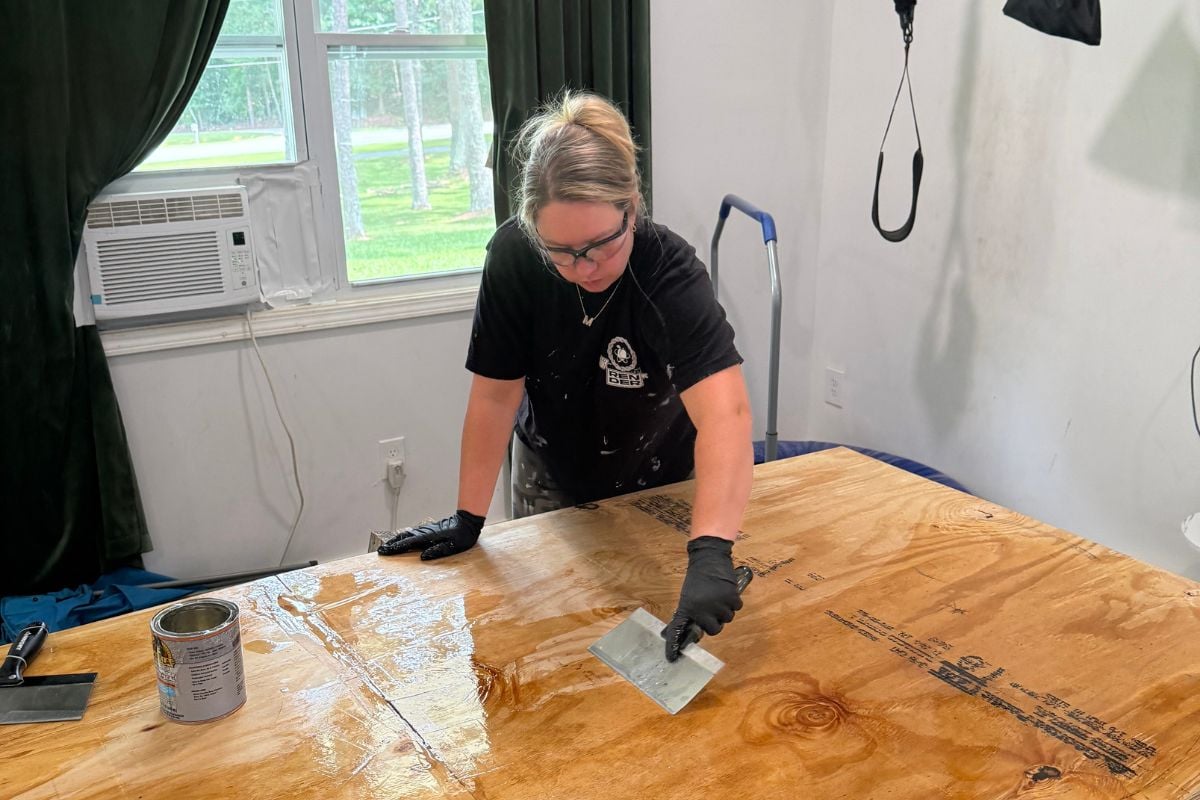
Once the board was stable, we applied Gorilla Waterproof Patch and Seal to the side that would face down toward the elements when the slide is extended. This took several days to dry—longer than the can suggested.
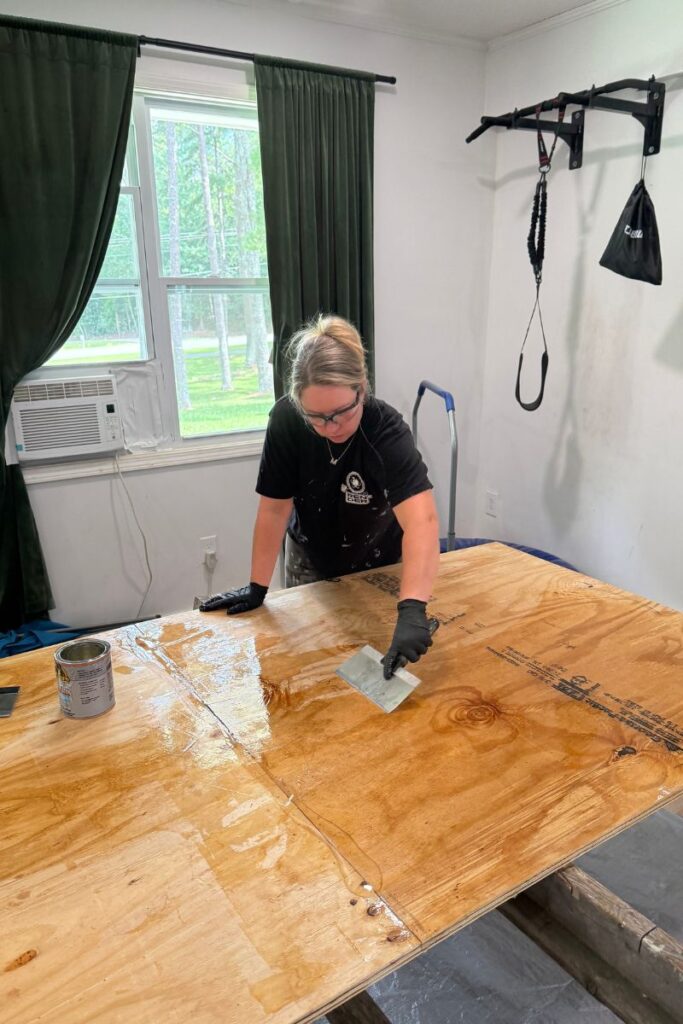
After drying, Daniel sanded the surface lightly to help the next layer adhere better.
Next, we moved the board into our shop, set it on sawhorses, and coated the underside with Weldwood High Strength Rubber Tan Contact Cement.
While the glue was still tacky, we applied a sheet of Mobile Home RV Flex Mend Belly Bottom material, which matched what was on the original subfloor.

We pressed it down, wrapped any over hanging material around to the other side of the board, added the included tape to reinforce the seams, and made sure everything was sealed tight.
*This material is only used on the underside of the subfloor.
Daniel also cut a notch in the corner of the new board to allow the electrical wiring to pass through, sealing it with tape for extra protection.
With the camper replacement floor built, waterproofed, and reinforced, it was finally ready to install.
Next up: Removing the old camper subfloor and installing the new one!
You May Also Like:
Buying a Used Camper? How to Avoid Feeling Like an Idiot Later
Best Travel Trailers For Families (2025)
Pin This For Later: