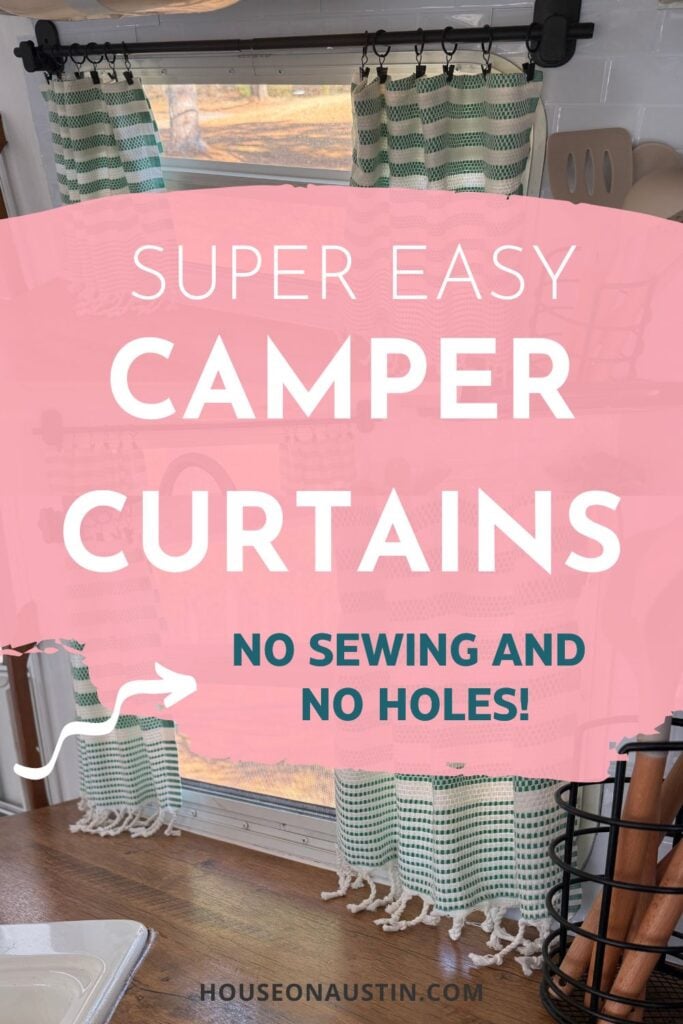
Camper Curtains Hack: No Holes, No Sewing
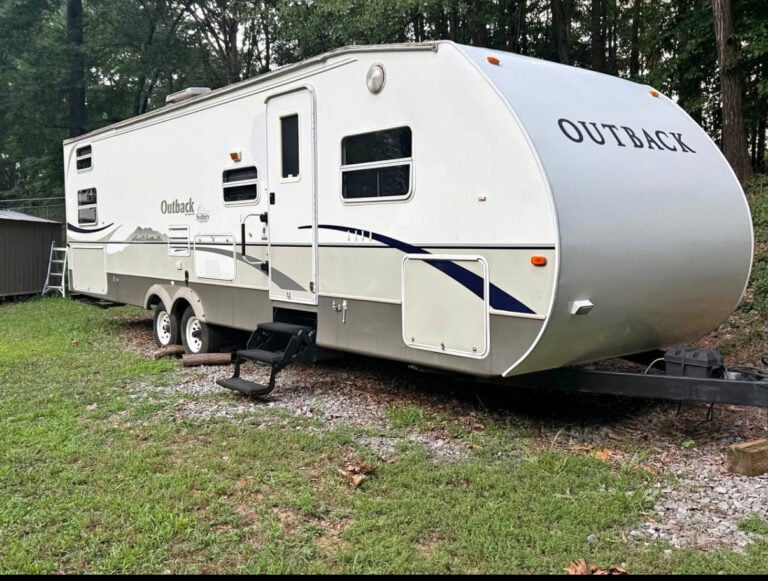
We need all new curtains in our camper, and there’s no way we’re spending a small fortune replacing blinds or curtains for all eleven windows — that adds up fast.
I was searching for a simple solution just for the kitchen window, something that didn’t require a lot of effort. If you saw our last post, you already know why I’m fully embracing shortcuts right now.
Check out a before and after (well, actually- in-progress) of our camper kitchen at the end of this post!
Easy No-Sew Camper Curtains (No Holes & No Fuss!)
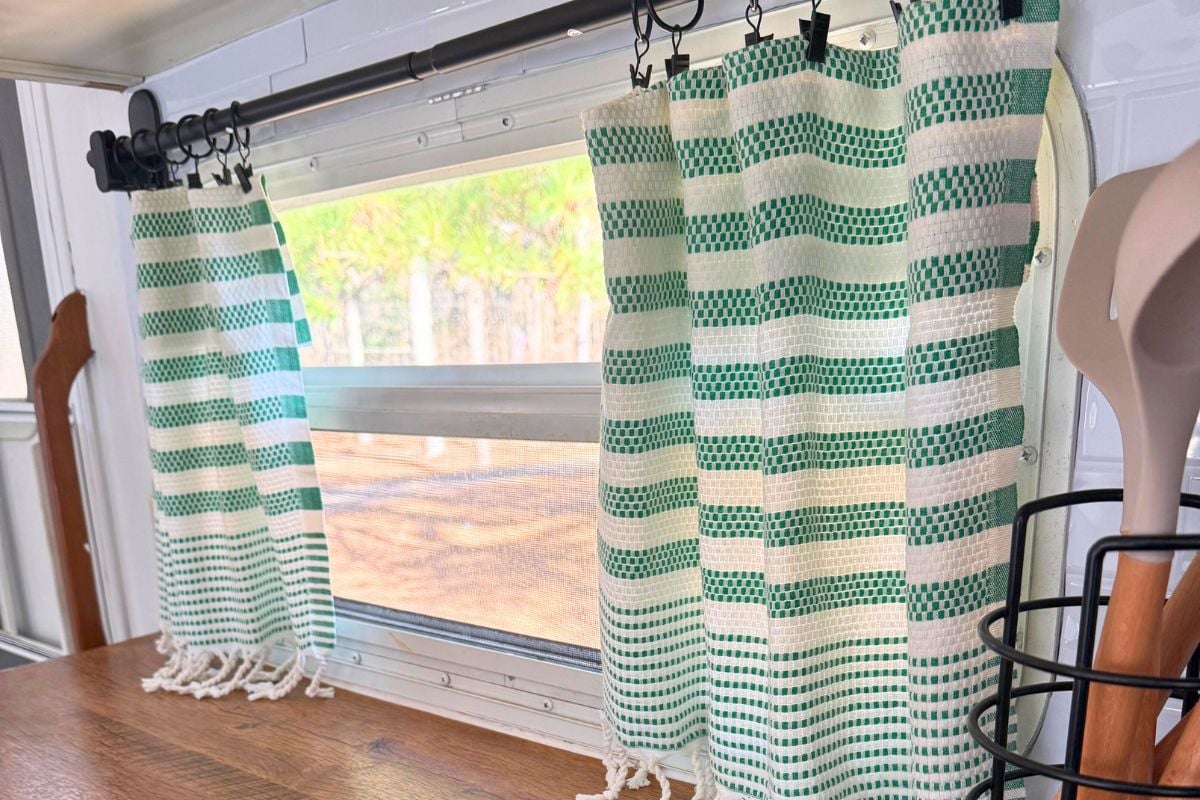
Cue our no-sew camper curtains — made with simple supplies and zero damage to the camper walls. And the best part? They’ve been in place for months with tons of use (open, close, slide back and forth) and still look great.
Here’s how we did it!
Materials You’ll Need

All links go to the exact products we used:
- Adhesive curtain rod — no drilling required
- Towel-style curtain panels — soft + durable (I used one towel for this project)
- Clip-on curtain rings — holds fabric without sewing (comes in a pack of 44; I used 10)
Step-by-Step: How We Made Our Camper Curtains
1. Choose Camper-Friendly Fabric
We chose Turkish towels because they’re the perfect balance of function and style — thick enough to provide privacy, yet lightweight enough to handle heat and constant movement. If your camper gets a lot of sun, these are an especially great option.
They also come in so many adorable patterns, and the tassels on the ends add just the right touch of texture and charm.
2. Cut the Towels in Half
Instead of sewing hems, we simply cut one towel panel in half horizontally to create two curtain panels from one piece of fabric.
Because the towels already have a thick edge, you get a natural hem along one side.

Tip: measure your window width before cutting so you know how much panel you need on each side.
3. Fold the Top Over to Create a Hem
At the top of each panel, fold the fabric over about an inch to create a simple makeshift hem. This gives the curtain rings something sturdy to clip onto.
No sewing, no sticky hemming tape — just a clean fold that holds surprisingly well.
You can press the edge with an iron if you want a crisper look, but after everything we’ve already poured into this camper, I was more than happy to take the shortcut.
4. Install the Adhesive Curtain Rod
This is the real game changer for campers.
- Clean the wall above your kitchen window (rubbing alcohol works best, IMO)
- Peel and stick the adhesive curtain rod in place
- Press firmly and let it set for the recommended time before hanging fabric
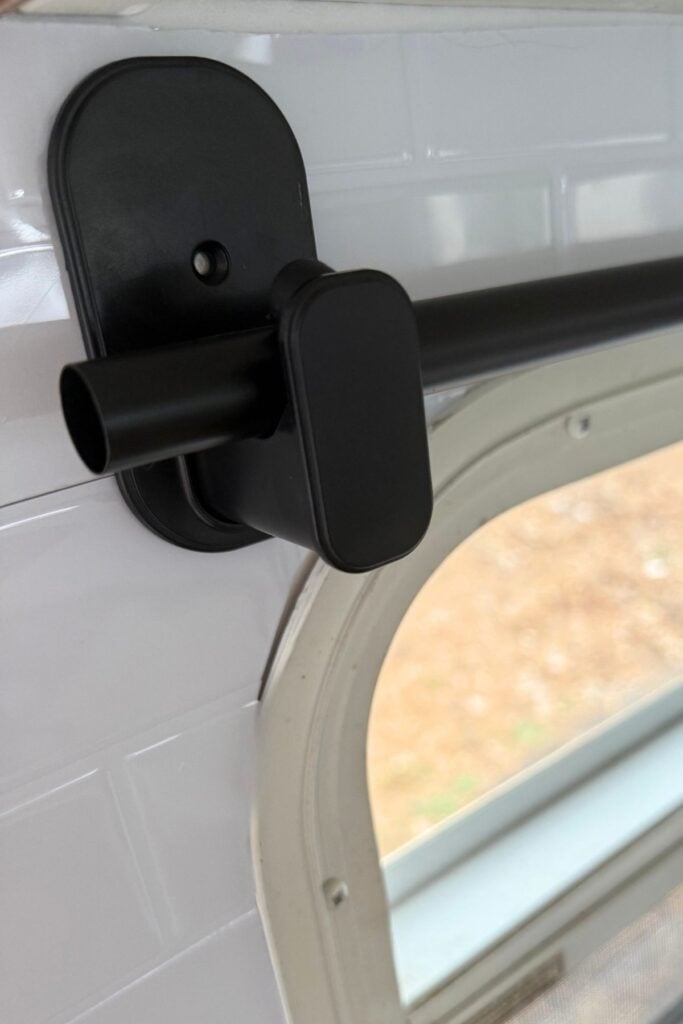
As you can see, I’d already installed a peel-and-stick backsplash on this wall, so being able to use an adhesive curtain rod — without drilling into it — was the perfect solution.
If you’d like all the details on how to add peel-and-stick backsplash, this post walks you through the entire process.
5. Add Curtain Rings + Hang
Clip the curtain rings onto the folded hem. The rings make it super easy to slide the curtains open and closed, which is great for daily use.
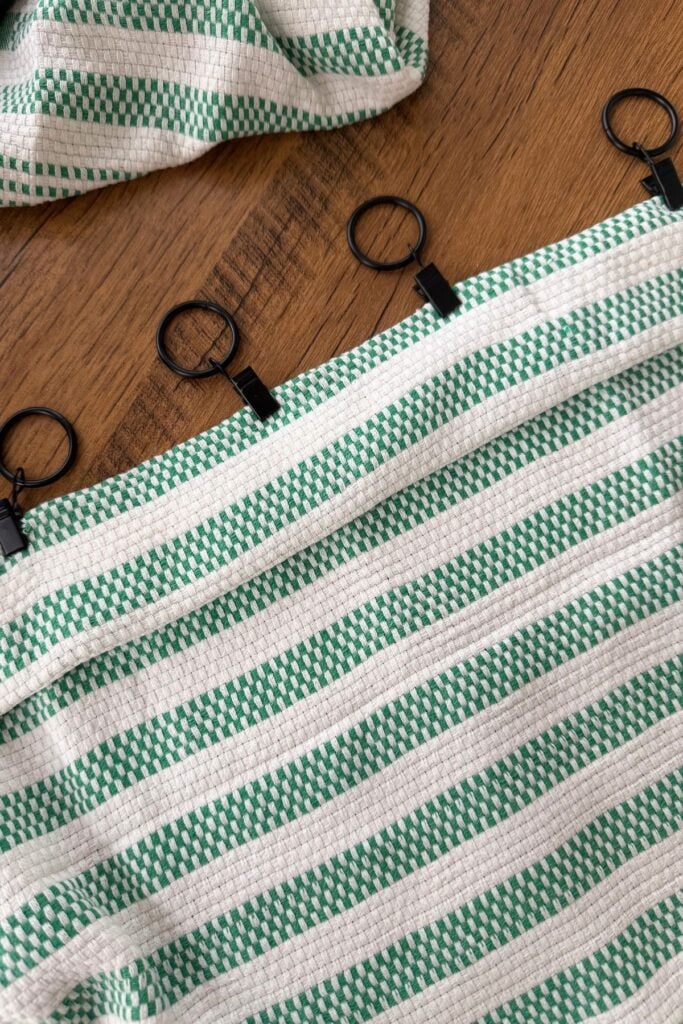
Once they’re clipped, just put the rings on the rod — that’s it!
6. Adjust & Enjoy
Since everything is clipped and adhesive, you can adjust the length or spacing whenever you want. It’s flexible and perfect for renters, RVers, or anyone avoiding holes in the wall.

Cost Breakdown
Here’s how much our curtain setup ended up costing:
Adhesive curtain rod: $14
Towel (1): $5
Clip-on curtain rings (10): $2.75
Total: $21.75
That’s way cheaper than custom curtains or drilling hardware — and camper friendly to boot.
Why This Works So Well in a Camper
No holes or screws = renter & camper-friendly
Inexpensive materials = big impact, small budget
Durable for everyday use
Easy to remove or adjust
Works with uneven walls and movement
No sewing skills needed (and believe me, I don’t got ’em!)
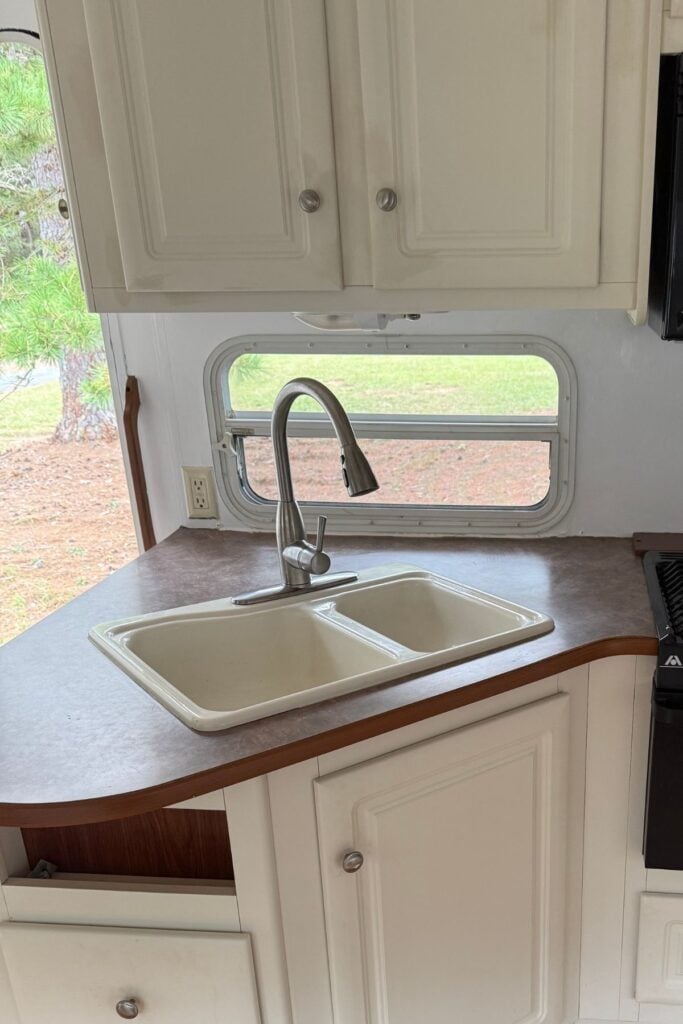
Our Kitchen Camper So Far
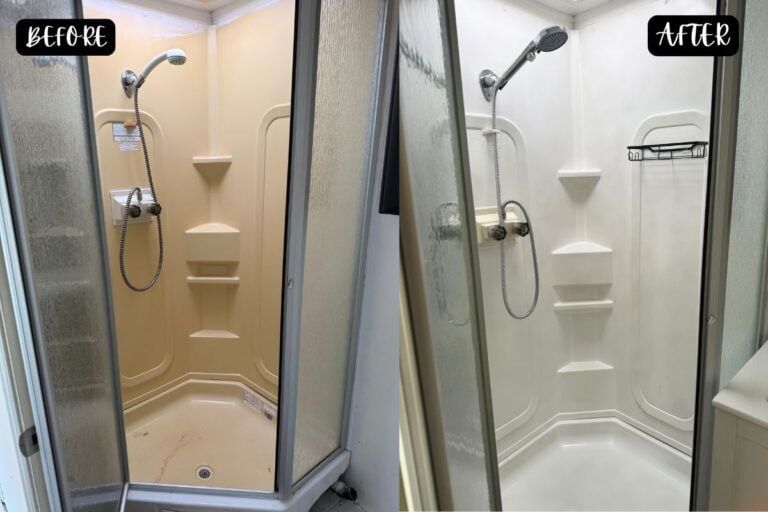
I love a before and after, so I had to share these two pictures of the camper kitchen when we first bought it, versus how it looks today.
I love the addition of the cute, super easy camper curtains!
Before:

And now:
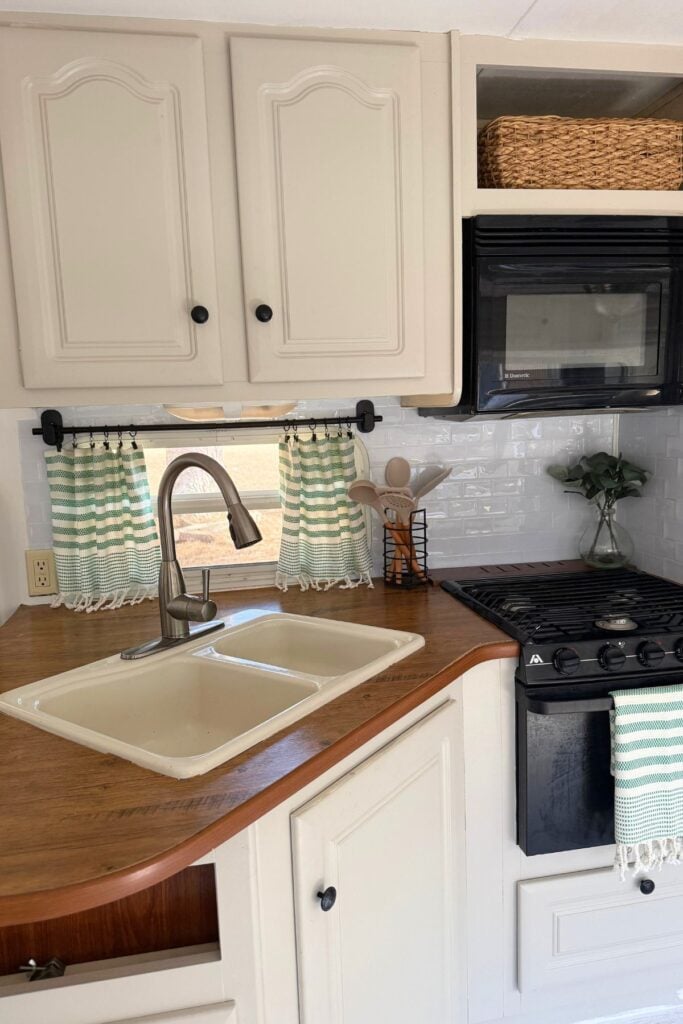
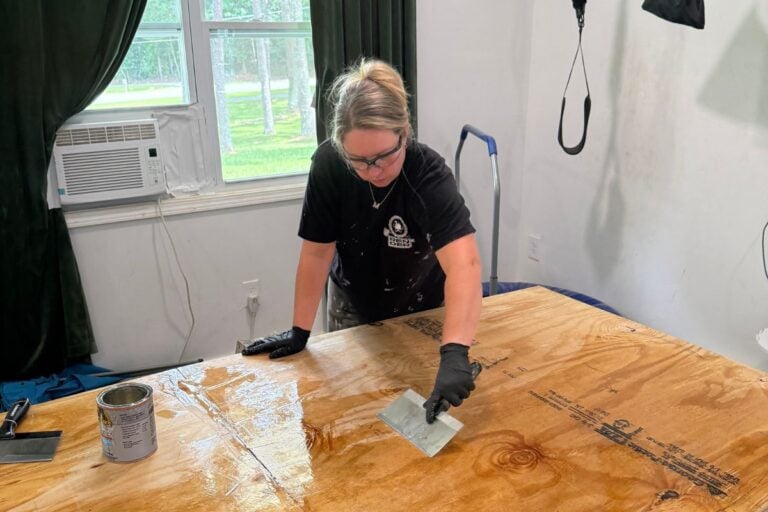
So far, I’ve painted the cabinets, added a peel-and-stick backsplash and contact paper to the counters, removed the old valance and blinds, and installed the new camper curtains.
We also took off one cabinet door to open up the space a bit.
Final Thoughts
This is a great quick, affordable way to add privacy and cute decor to your camper windows — especially in spaces where hanging curtains seems impossible.
Really, this method would work on any window- not just have to be a camper!
We love how these turned out, and with so many camper projects underway, it’s nice to have a small win that actually makes the space feel cozier.
If you try this yourself, let us know! Snap a pic and share it on Instagram (tag us @houseonaustindiy) — we’d love to see your version!
Want more camper remodel inspiration? Check out:
Our Camper Roof Replacement
Slide-Out Floor Makeover
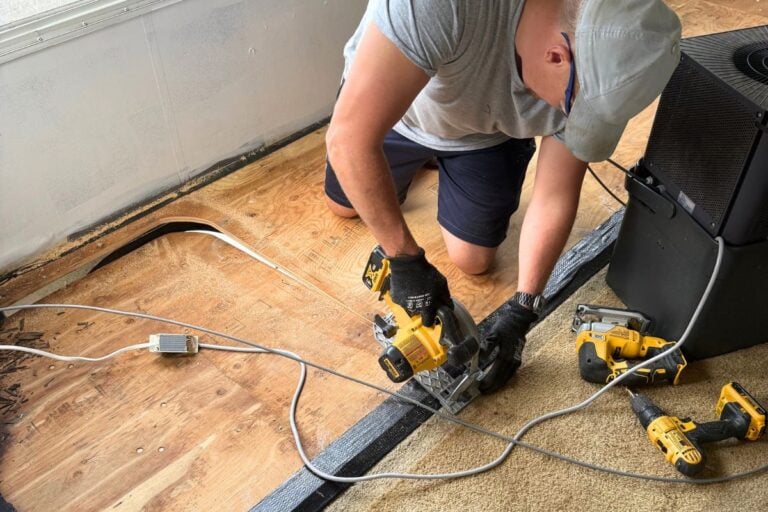
And stay tuned — we’re working on the camper flooring post next!
Pin this for later: camper curtain DIY, no-sew camper upgrades, easy RV projects